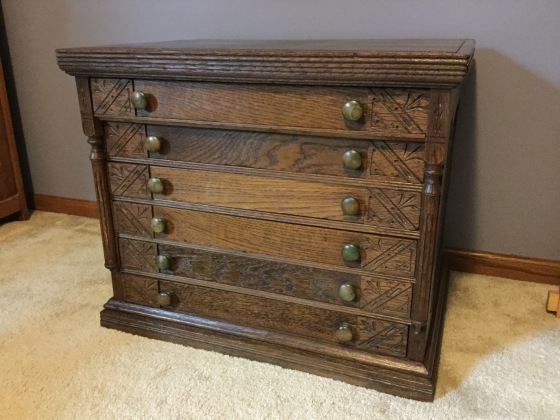
I recently had an old spool chest refinished and plan to store my knitting supplies in it. I decided to sew some needle storage cases to keep my knitting supplies neat in the drawers. I had seen cases for sale but never any that I liked. They looked poorly made and seemed pricey. You will find the instructions for making these two cases and two others (for circular and DP needles) in this post.
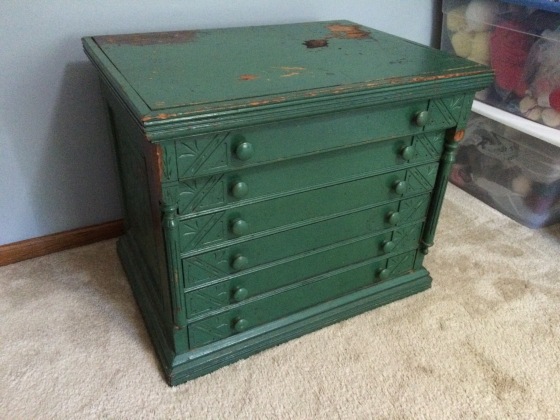
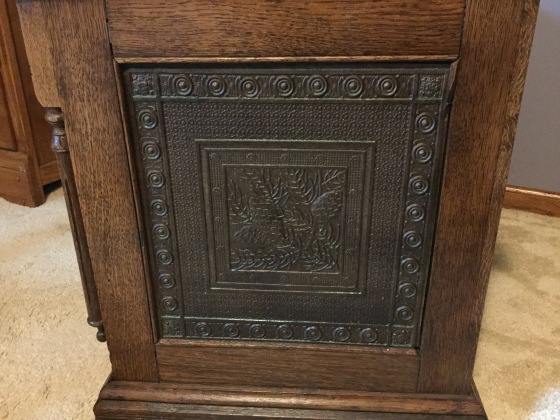
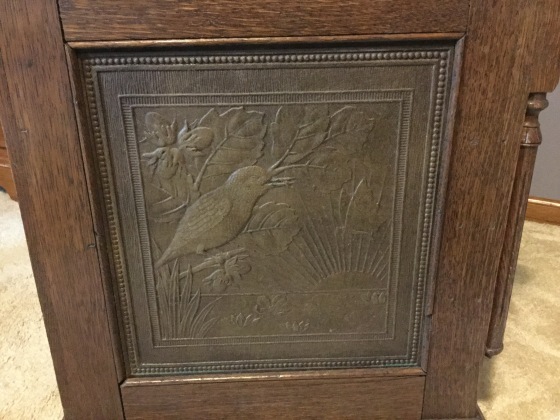
The chest had belonged to my mother for as long as I could remember. It had been painted green at some point. Later someone began to strip the paint but only removed a little from the top. When I heard good things about a local refinisher, I decided to have it restored. It turned out really well.
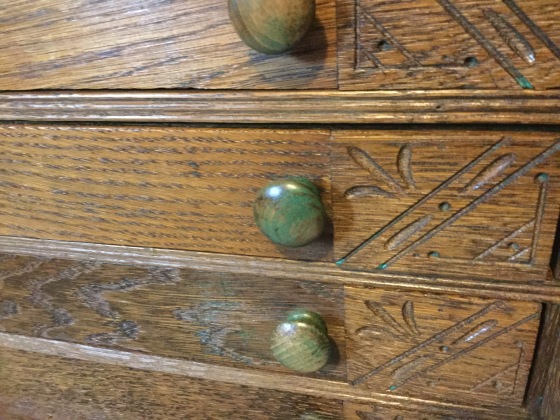
Some of the green paint remains on the handles. I like it that way.
It seems appropriate that if it is not going to be used to store thread, that at least it should be used to store fiber craft supplies. There are enough drawers for knitting, crocheting, and weaving tools and instructions booklets.
To help organize the knitting needles I sewed four separate cases. One case for long straight needles, one for short straight needles, one for circular needles, and the last for double pointed needles. Each can lay flat in a drawer or be folded, stacked, and carried in a bag.
The fabric is cotton duck (sometimes called canvas). It is sturdy, inexpensive, and has a nice industrial look that I like. The binding on the edges is black, half inch wide, double fold bias tape.
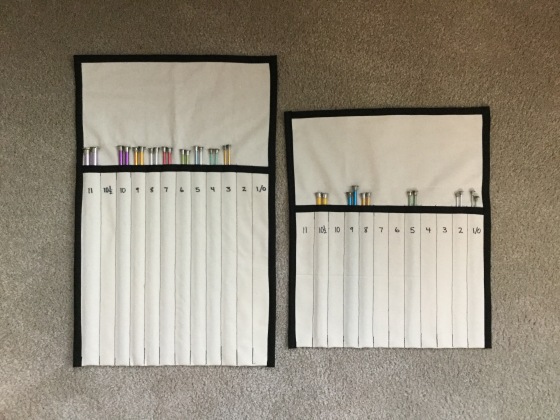
Large and Small Straight Needle Cases
The two cases for straight needles are made in exactly the same way as each other. They are the same width, but have different lengths.
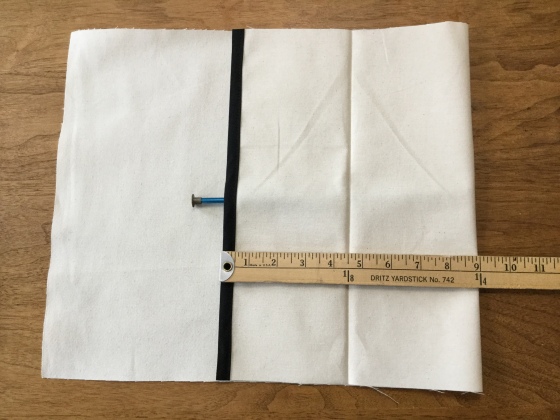
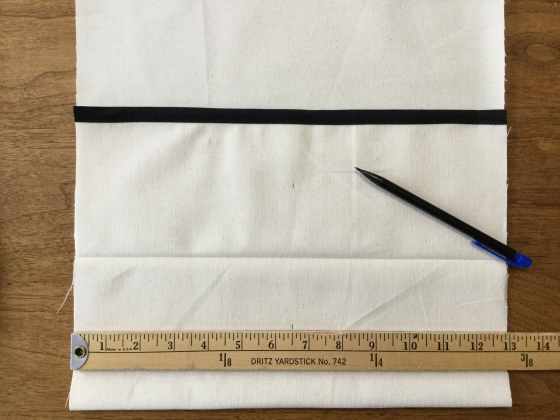
1. For the smaller case for 10” needles, cut a piece of fabric 13” wide and 24” long. For the larger case for 14” needles, cut a piece of fabric 13” wide and 33” long.
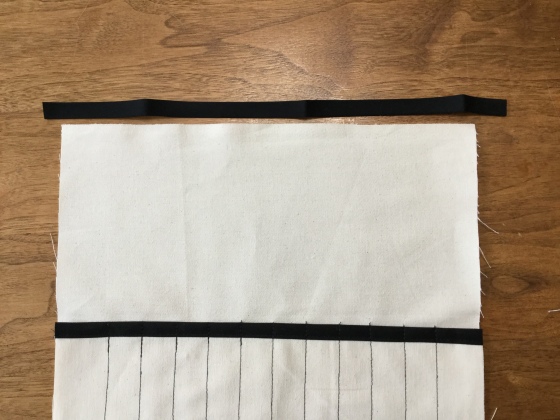
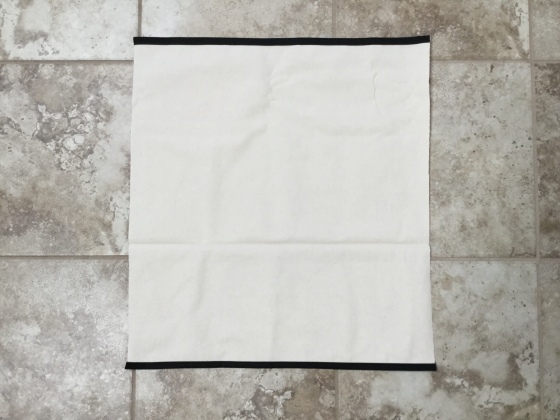
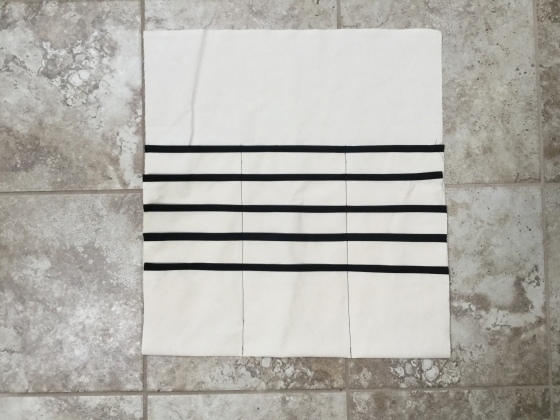
2. Sew a piece of bias tape on one of the short sides. No need to finish the edges as they will be covered up.
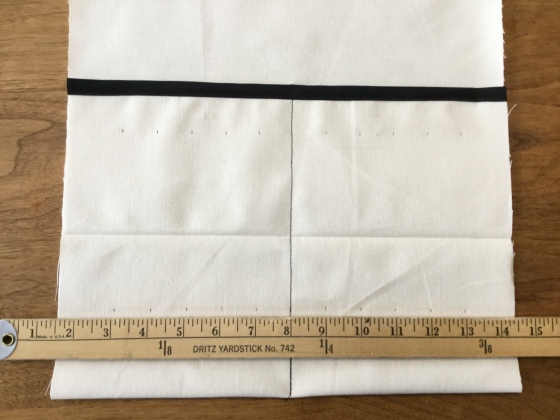
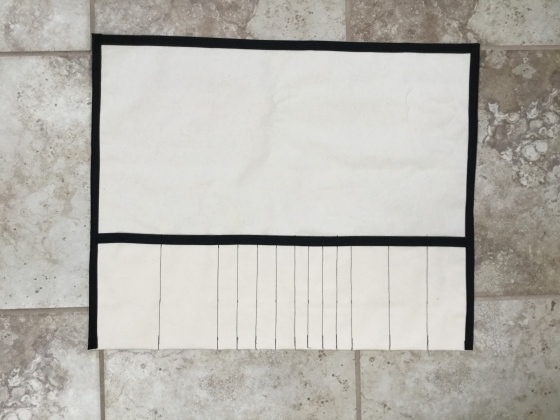
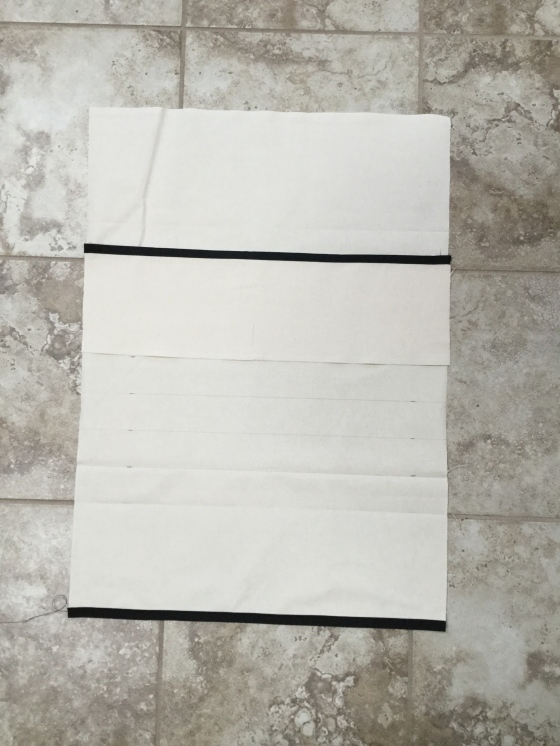
3. Fold the side with the bias tape up 9” as shown for the small case and 13” for the large case.
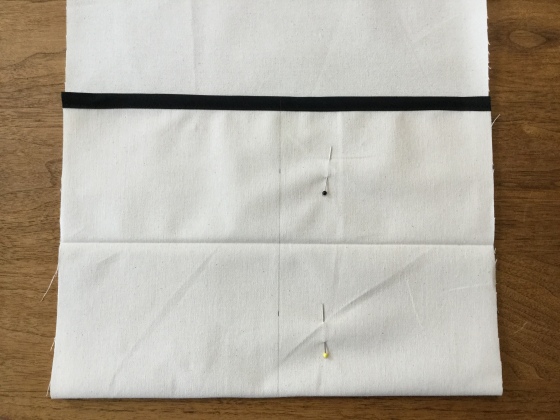
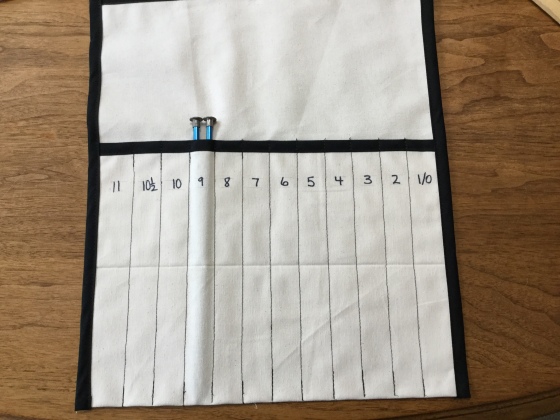
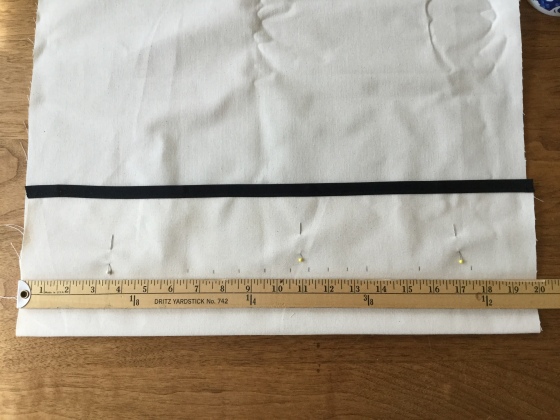
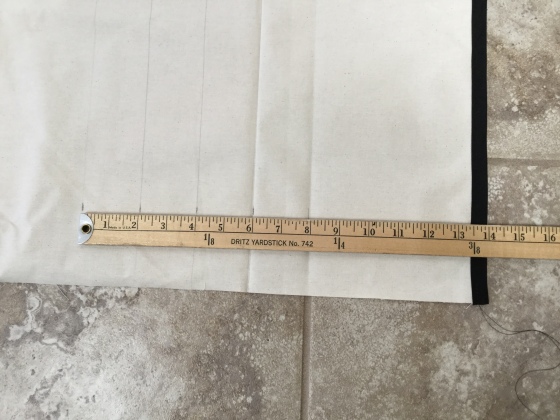
4. At two places, mark the center 6 1/2” from each edge as shown.
5. Mark the center line with a straight edge and pin the fabric in place so it won’t slip as shown.
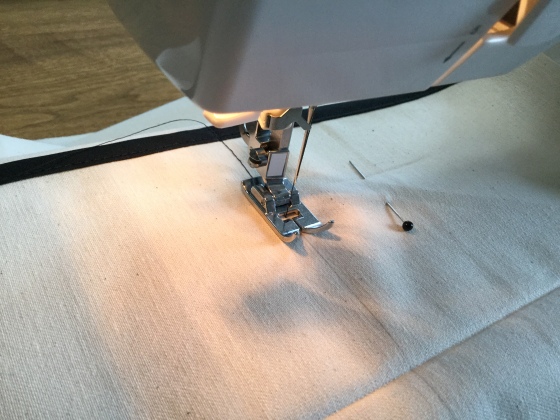
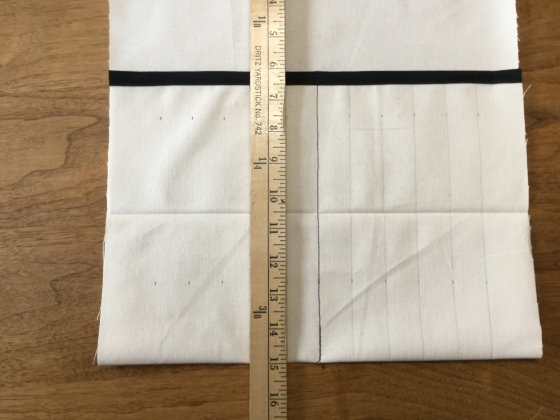
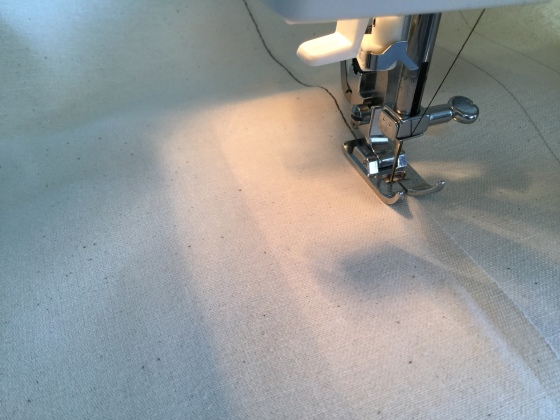
6. Stitch along the center line. I ran the stitching back and forth at the bottom and at the bias tape. This is not a prom dress that needs to “hang and flow”. It is a case that may get some tugging so no harm in making it sturdy.
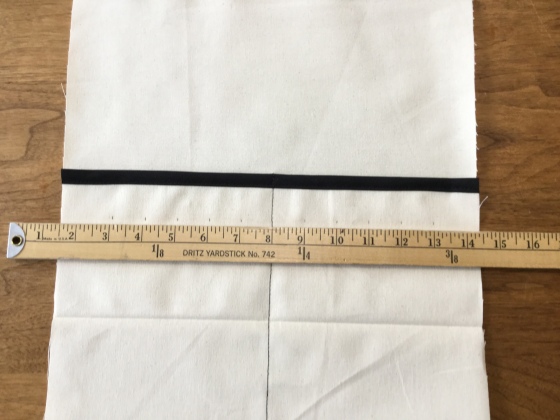
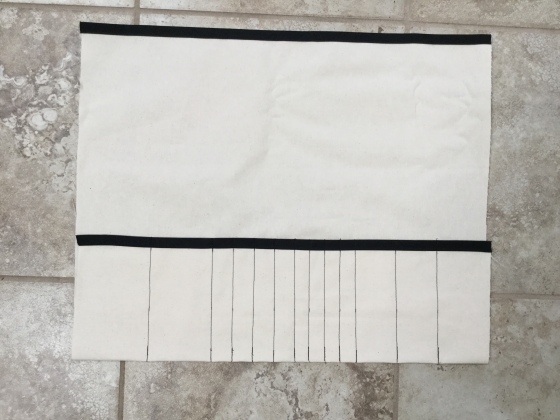
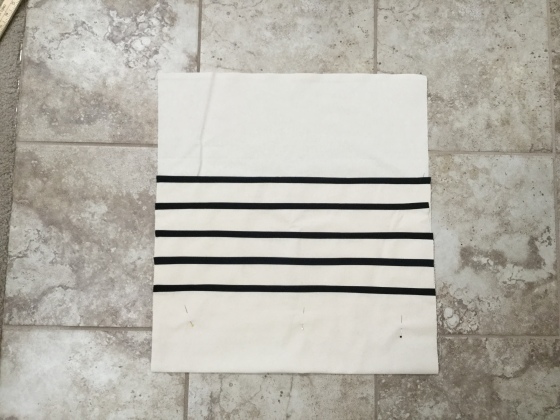
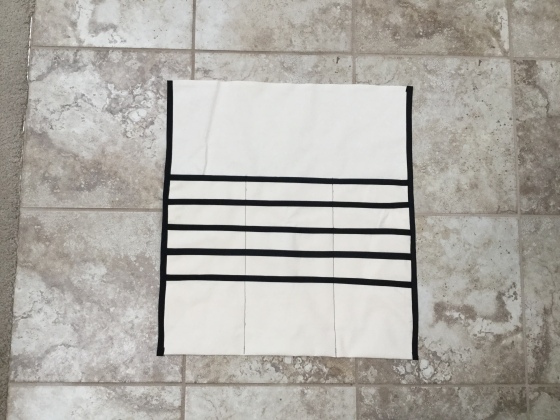
7. Mark the rest of the divider lines, each 1 inch apart as shown. The outer sections will be a bit wider since this is where the bias tape edges will be applied.
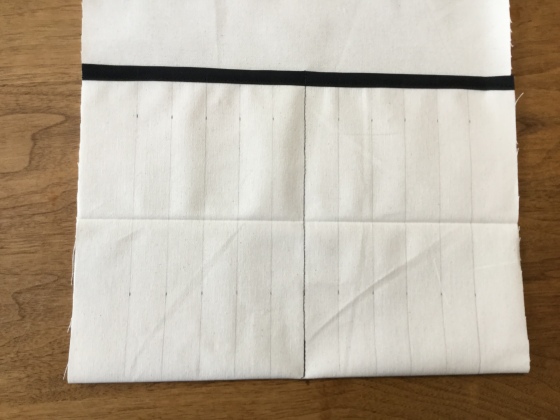
8. Stitch each dividers as you did the center divider. Stitch back and forth at the top and bottom to make them sturdy.

9. Cut and sew a piece of bias tape on the top edge. No need to finish the ends as they will be covered up.
10. Cut pieces of bias tape to finish the edges. Cut each piece about 26” long so you will have about an inch at each corner to fold under. This will give you a finished corner.
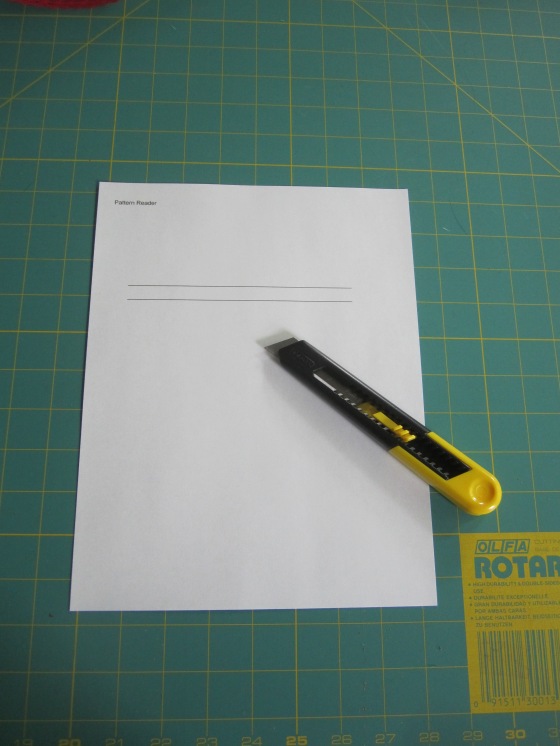
11. Draw a light pencil line as a guide for the numbers. I thought I had a stencil but couldn’t find it. So I just wrote the numbers free hand with a black Sharpie.
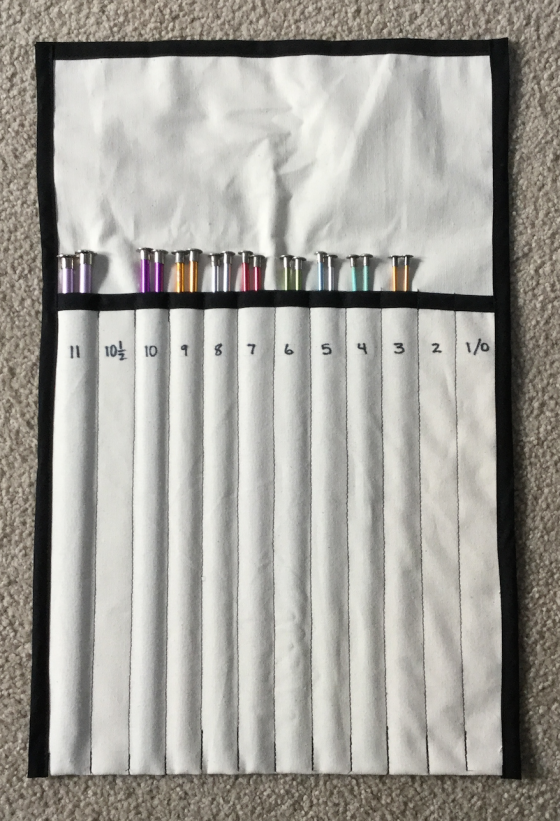
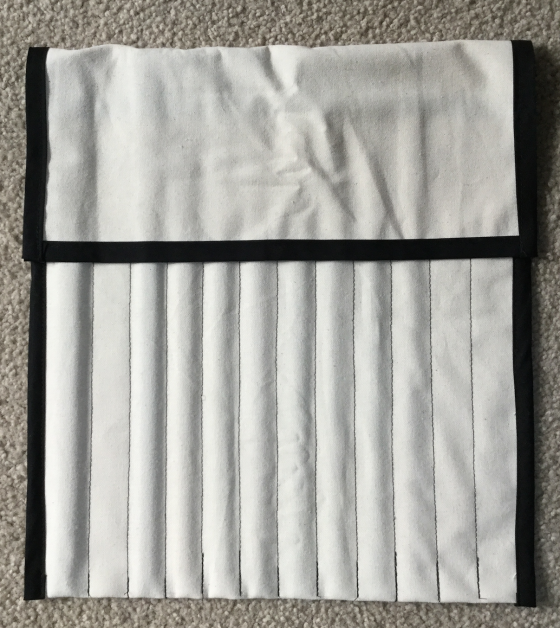
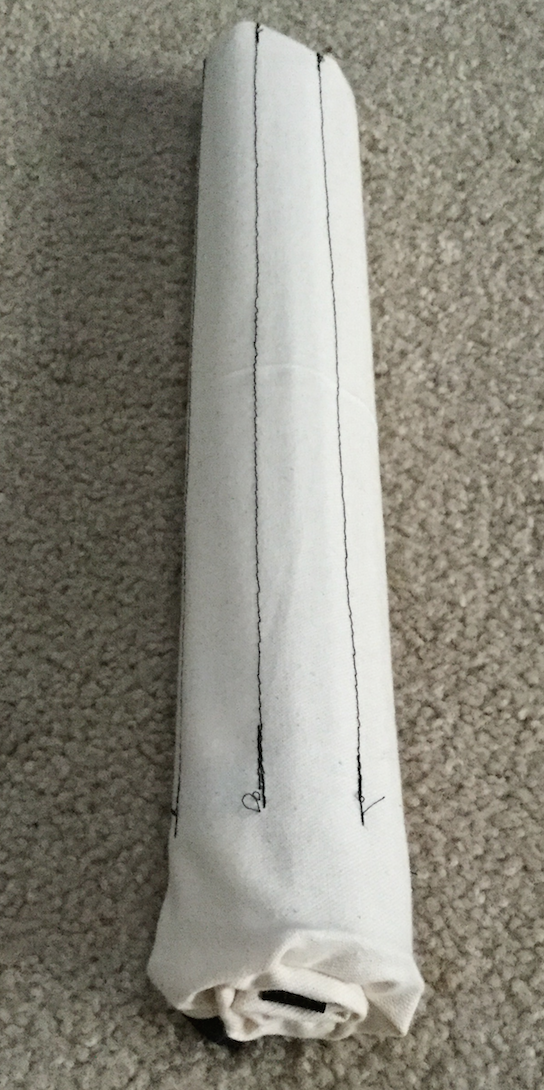
The flap folds over to keep the needles in place. The case can be folded in half or rolled up.

Case for Double Pointed Needles
This case is made specifically for the DP needles that I have. I did not make a slot for every possible size like I did for the straight needles. You can adjust the widths of the slots for your own collection. I also have not numbered the slots yet, but will.
1. Cut a piece of fabric 20” wide and 22” long.
2. Sew pieces of bias tape on both 22” sides. No need to finish the edges as they will be covered up.
3. Fold the side with the bias tape up 9” as shown and mark the slots. I decided on two 3” pockets, four 1” pockets, four 3/4” pockets, and three 2” pockets. Starting at the left edge, make marks at the following distances from the left hand edge in inches.
3 1/2 – 6 1/2 – 7 1/2 – 8 1/2 – 9 1/2 – 10 1/2 – 11 1/4 – 12 – 12 3/4 – 13 1/2 – 15 1/2 – 17 1/2
4. Mark and stitch slots. Sew forward and back at the top and bottom of each slot to make it sturdy.
5. Cut pieces of bias tape to finish the edges. Cut each piece about 26” long so you will have about an inch at each corner to fold under. This will give you a finished corner.
This case can be folded in thirds, inward from each edge. It is then the same width as the other cases. The fourth case, the one for circular needles can also be folded in thirds so the stack of all four cases is only 7” wide.
Case for Circular Needles
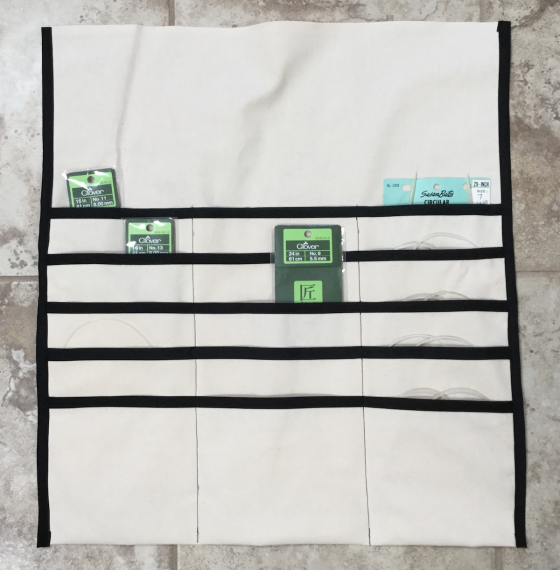
The circular needle case has 15 pockets, each 6” x 6” to hold the needles. This case is a little different in that I tried to use the selvedge edge of the fabric in several places to avoid fraying. I cut the original piece of fabric with a selvedge edge at the top and didn’t apply bias tape because I was not sure I was going to have enough tape to finish. In the end, I did have enough and added it across the top just to make all the case look the same. Otherwise it would have bothered me. Some of you know what I mean.
I also cut the four 6” rectangle that make up the layered pocket with a selvedge edge. In this way, I could sew them to the main fabric piece without finishing them (which would add extra bulk) but also without having to worry that they would fray and come loose.
1. Cut a piece of fabric 20” wide and 28” long. Cut four other pieces 20” wide and 6” long. Try to use the selvedge edge along the 20” side of these smaller pieces. If you cannot, cut them 6 1/2” long and fold the edge under 1/2” and stitch. This will create a finished edge to sew onto the main fabric piece.
2. Stitch bias tape along the top and bottom of the large piece and along the top edge of the other four pieces.
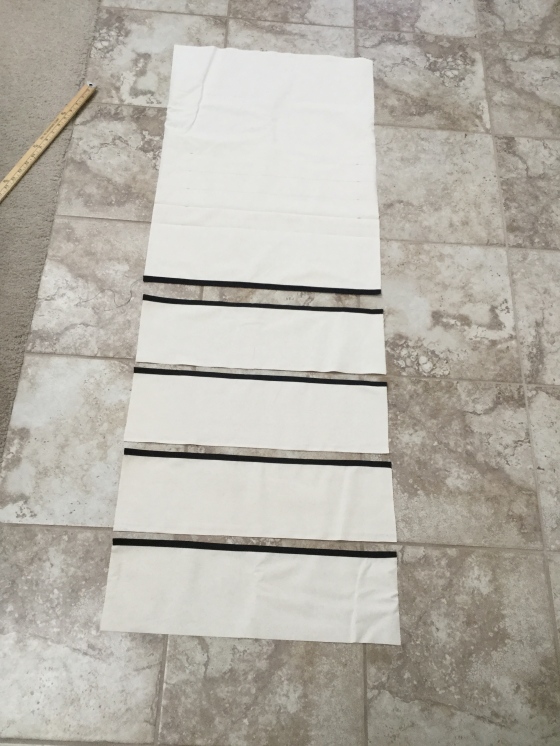
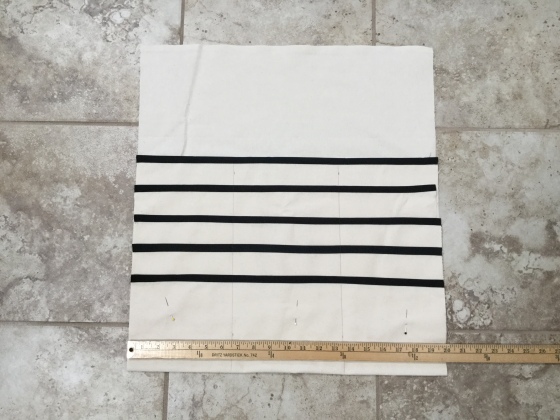
3. Draw four lines on the large fabric piece for placement of the smaller pieces. The lines should be measured from the bottom edge 14”, 12”, 10”, 8”. Sorry the ruler is backwards in the picture. Sometimes I think in unusual ways.
4. Place the bottom edge of one small piece on the top, 14″, marked line of the large piece as shown. Stitch in place close to the selvedge edge.
5. Place another small piece on the 12” line, sew in place. Continue in this way until all four small pieces are sewn to the large piece.
6. Fold the bottom of the large piece up 6” and pin it.
7. Draw stitching lines measuring from the left hand side at 6 1/2” and 13 1/2”.
8. Stitch these lines, stitching back and forth at the top and bottom to reinforce the stitching.
9. Cut pieces of bias tape to finish the side edges. Cut each piece about 30” long so you will have about an inch at each corner to fold under. This will give you a finished corner.
This case can be folded in thirds, inward from each edge. It is then the same folded width as the other cases. Remember, I didn’t add the top piece of bias tape until the end so it is not shown in some pictures.
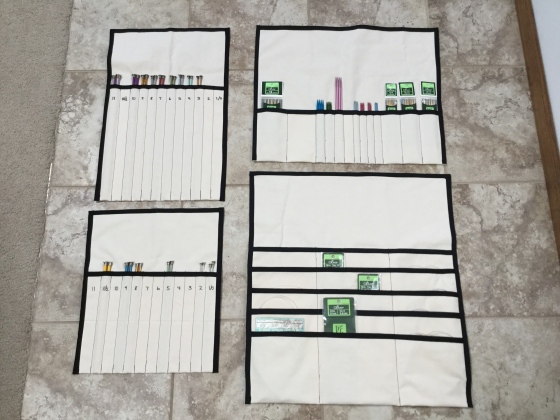
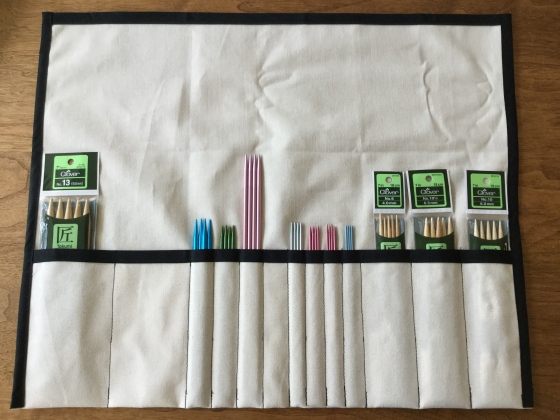
Here is what the set of four cases look like with my needles in them. They all fold in half or thirds and are then 7” wide.
Even thought I plan to mostly keep them in the spool chest, I did sew up a matching bag to slide them all in for travel.
Now that I have the pattern designed, I plan to make more. I think I will try denim next. The bias tape was the most expensive part of the project so I think I will try to make my own bias tape next time. If I do, I will be sure to write about it.
As always, your polite and helpful comments are welcome!


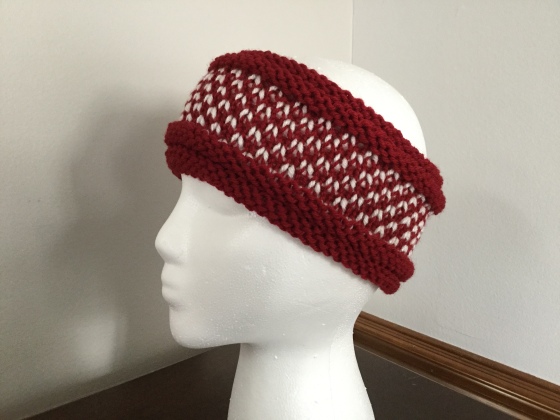

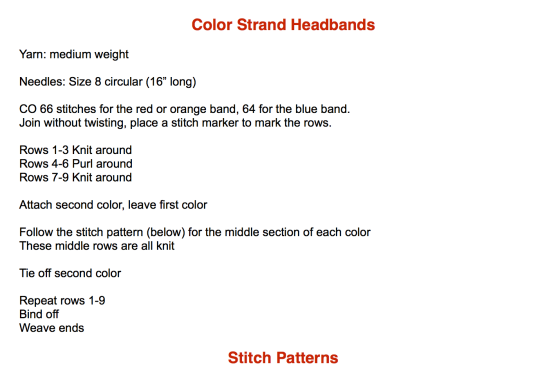
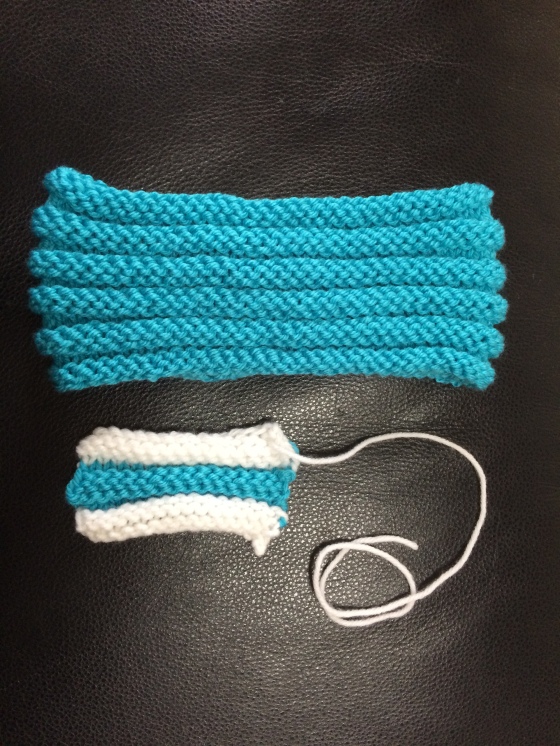
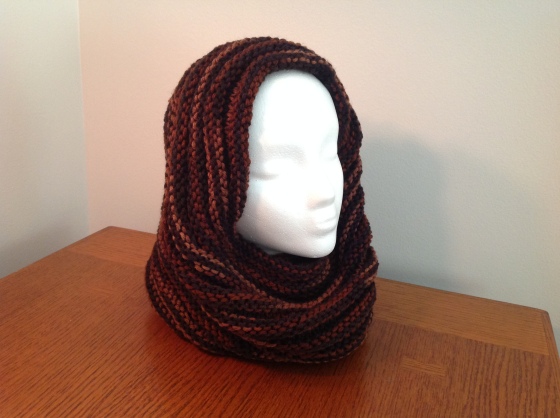
 Here is an extremely easy pattern that goes quickly and is a great stash buster. Unstretched it measures 18” around and 3.5” wide. It easily stretches to 6” wide when worn. It requires about 75 yards of medium weight yarn.