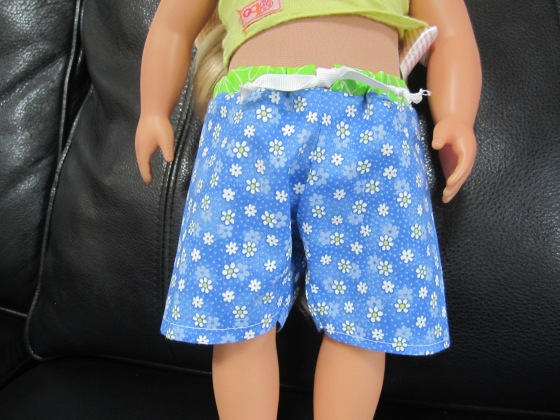
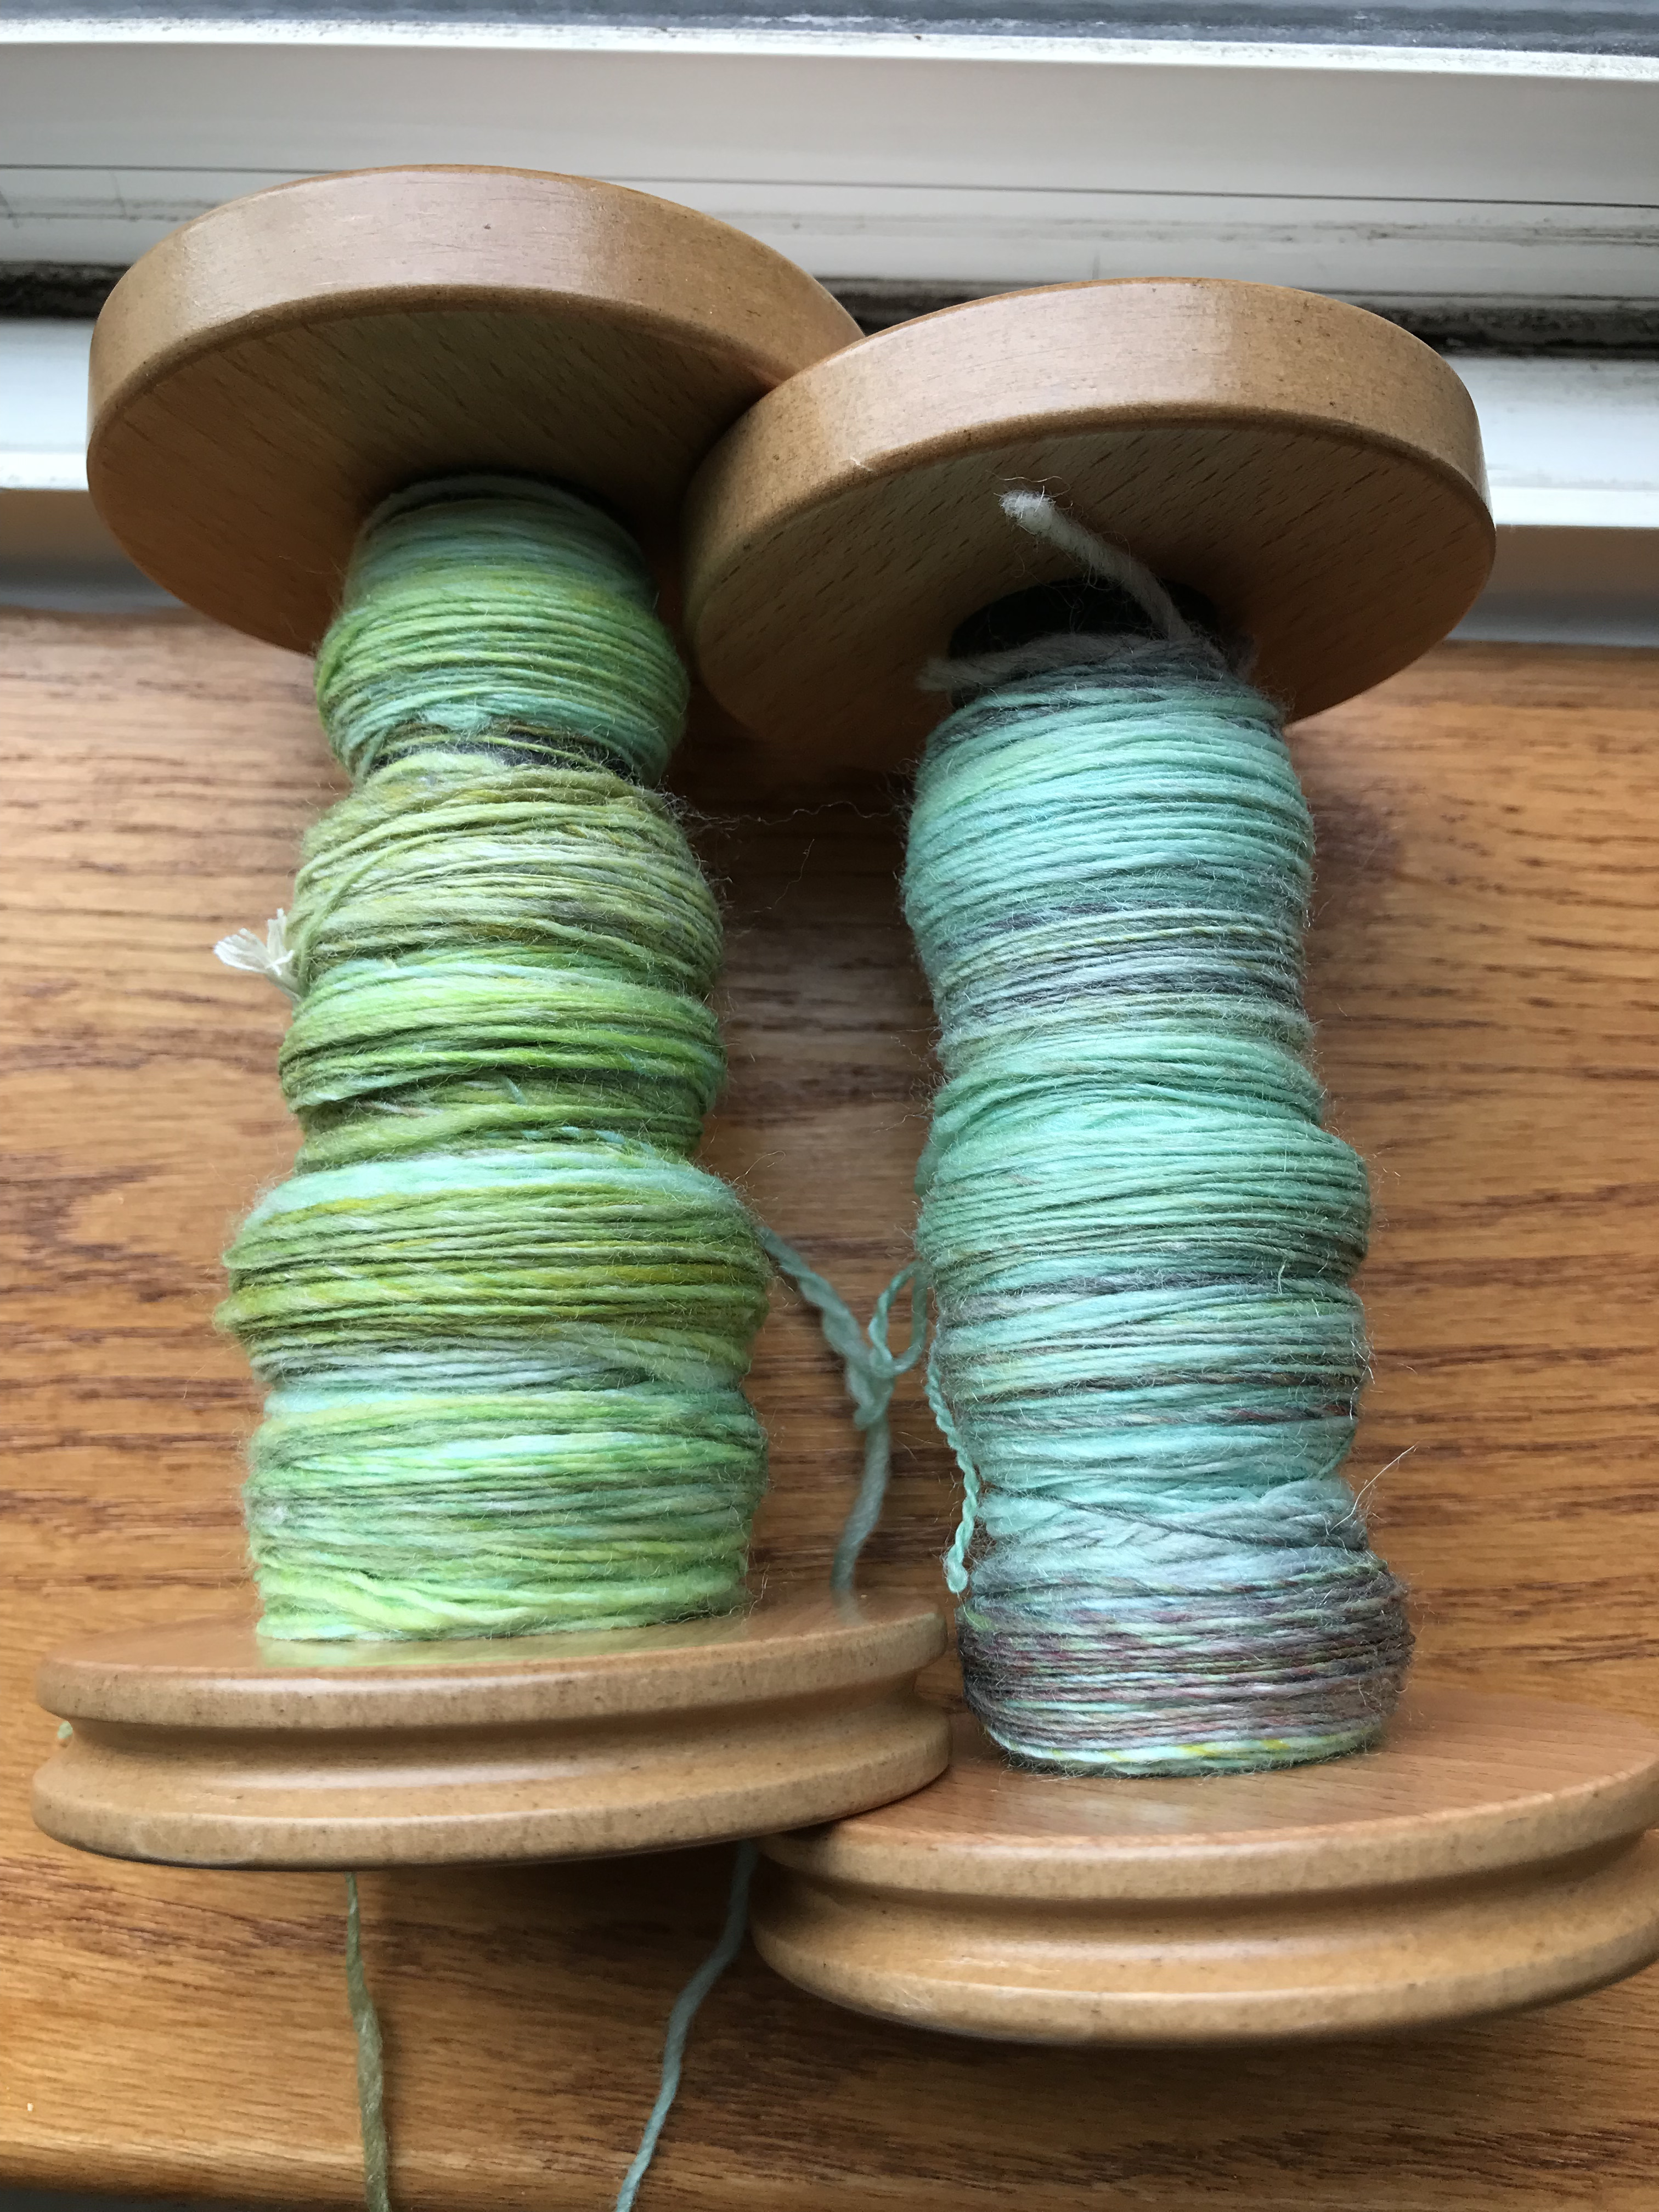
I have been busy weaving two styles of wraps.
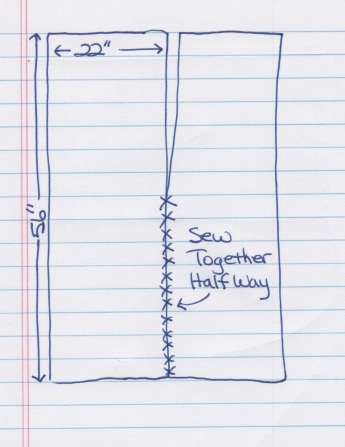
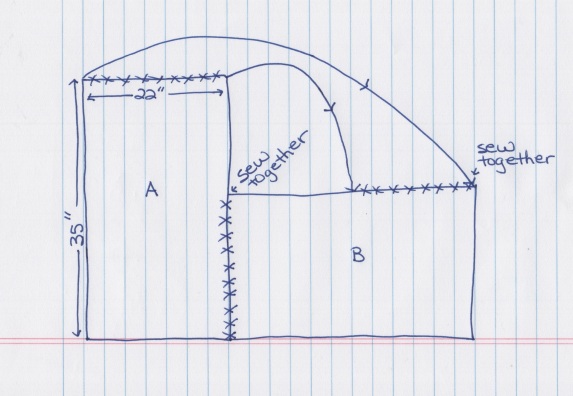
The first style is a poncho woven in two rectangular pieces and sewn together.
The second style is a wrap that I have come to know is called a ruana. This one can also be woven as two rectangles sewn together or it can be woven as a double weave.
Both are easy to weave since they are rectangles. It has been SO much fun weaving these wraps because there is no end to the number of design options available. As long as they end up the right size, anything goes. You can use any combination of yarns and any size reeds/heddles. They can be woven on floor looms, table looms, and rigid heddle looms.
To get started I looked at many patterns and designs. The first poncho I made was a bit small so I adjusted for the second one. I had several people try on the styles to see which one worked best. I settled on a small set of sizes depending on the persons preferences. The sizes given are after it has been taken from the loom and wet finished. Depending on the sett and fiber used, the size in the loom is larger.
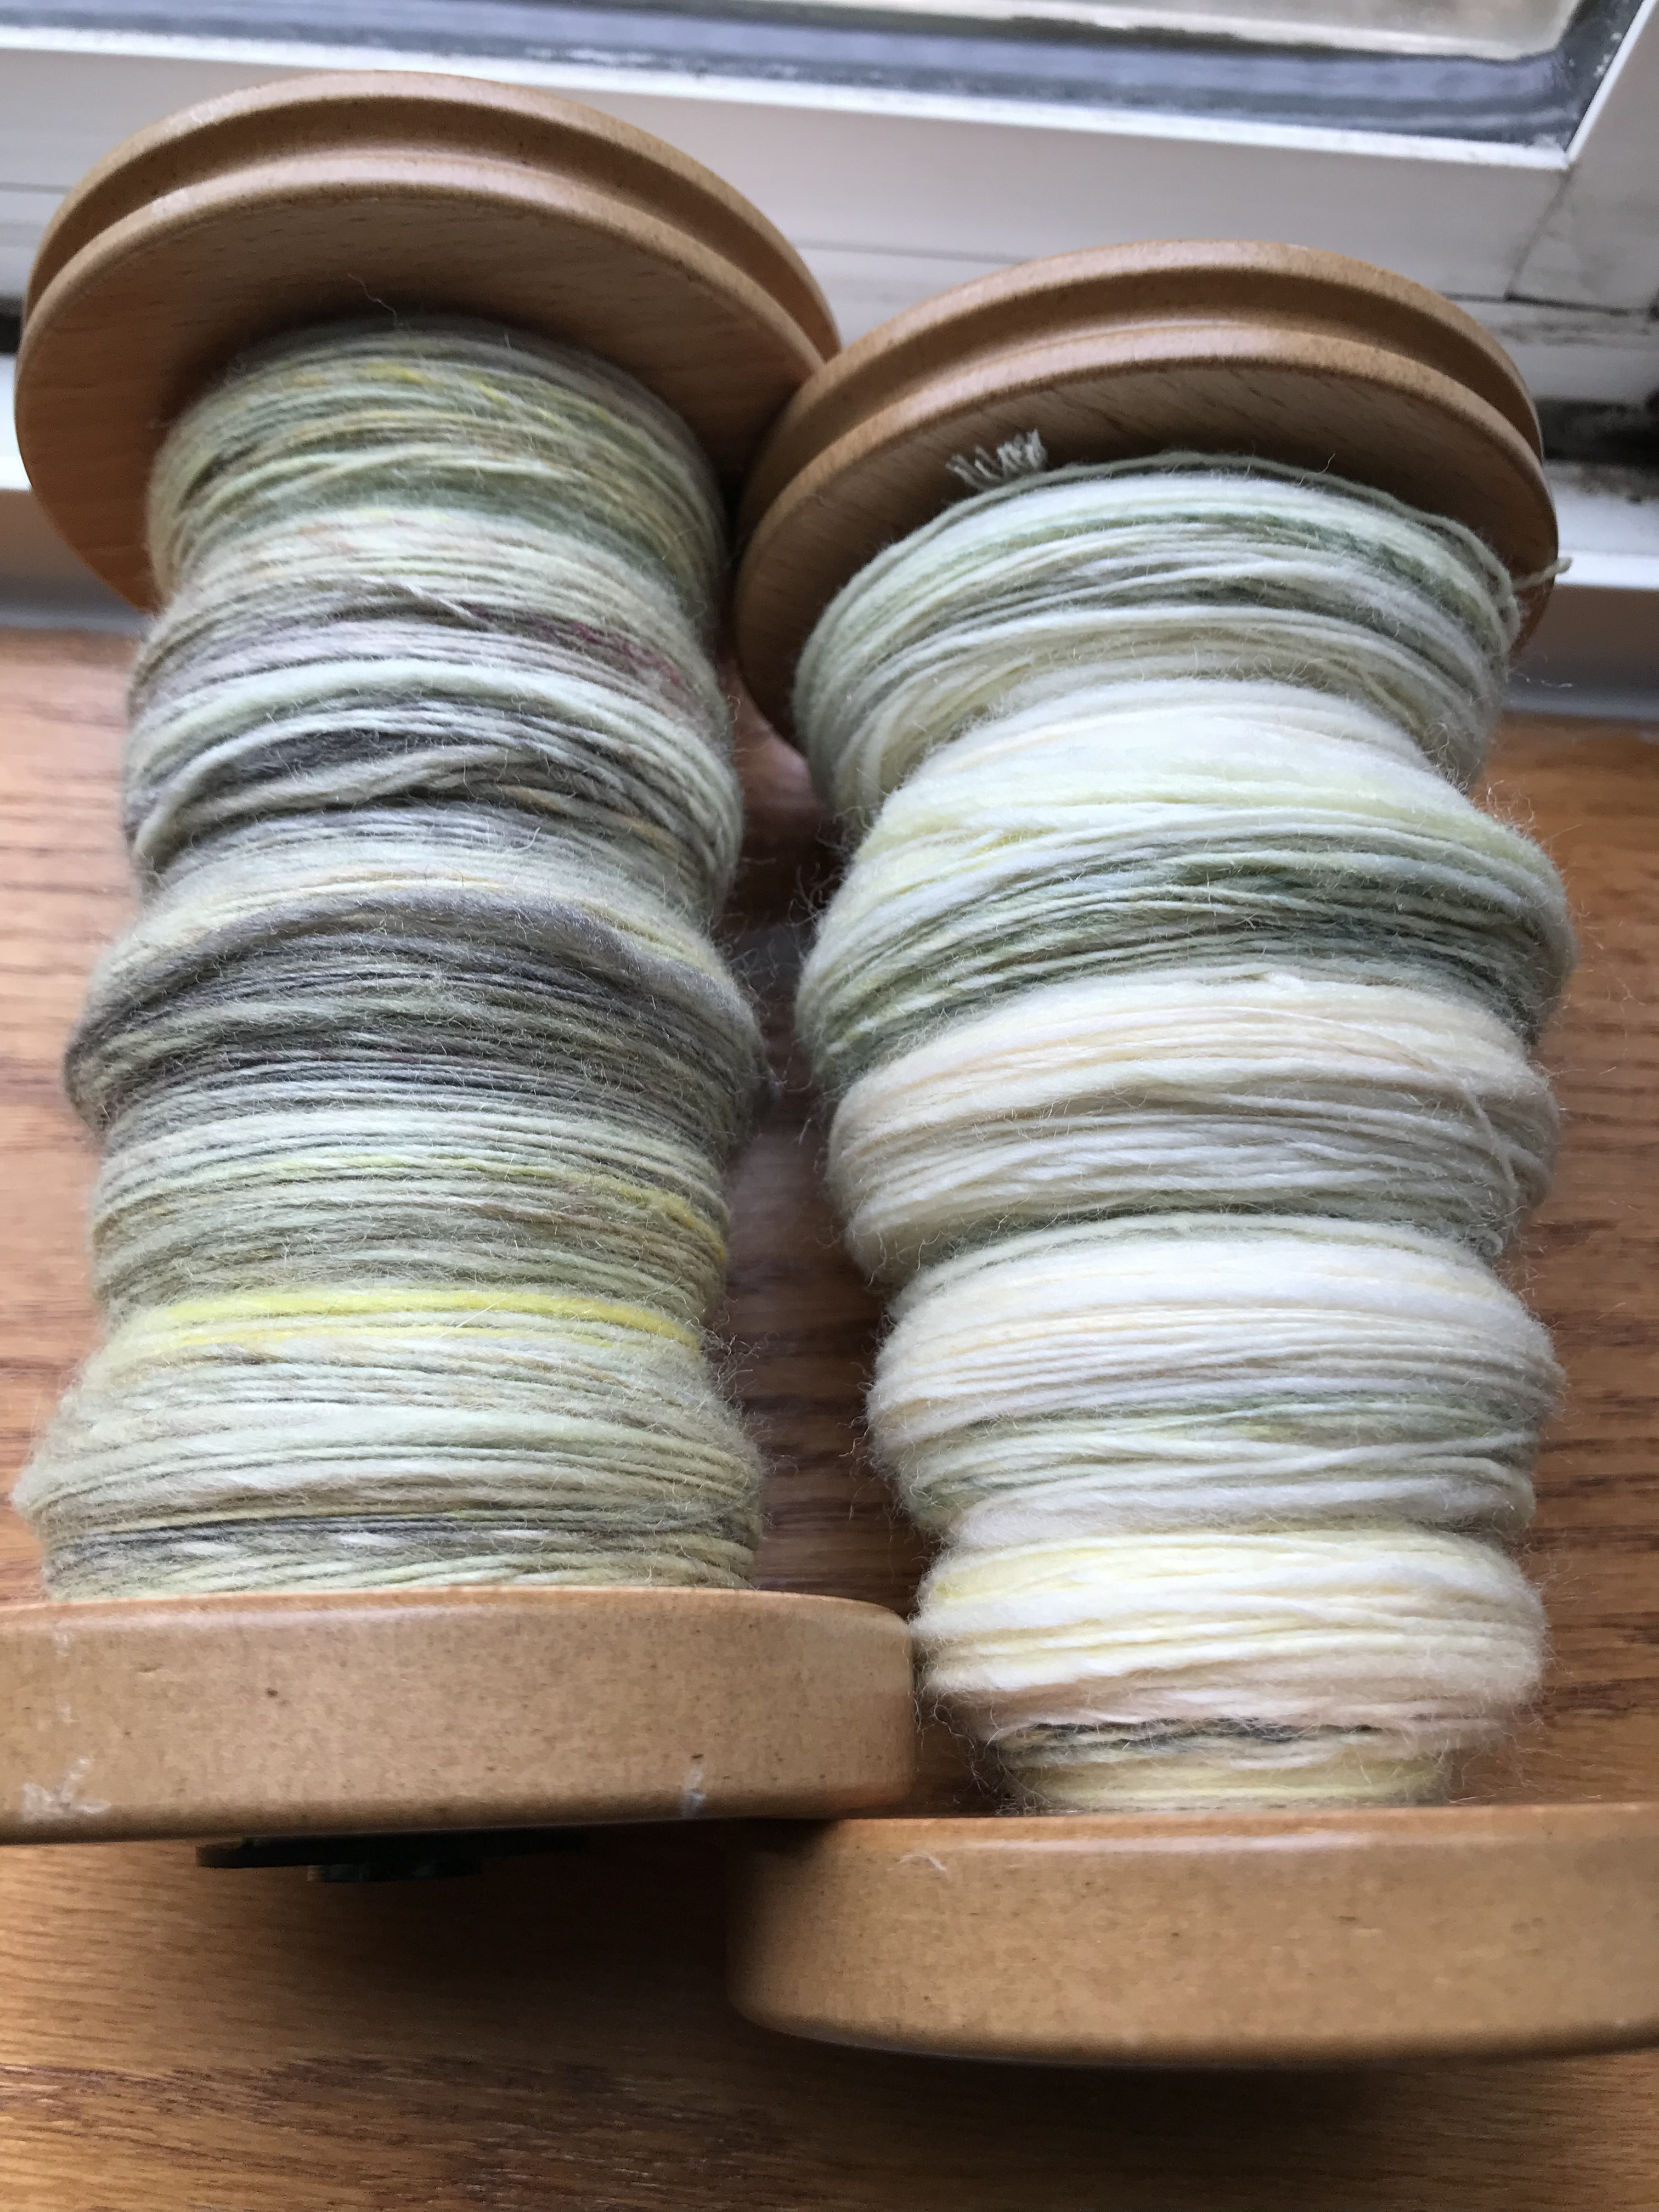
All of the wraps I have made so far are plain (tabby) weave. It will be fun to try additional weave structures as well as combinations of colors and textures in the future.
Poncho Size
The basic poncho is composed of two rectangles 22″ wide and 35″ long. The difference in length and width contributes to the size of the head opening. Once you know the correct size head opening keep this difference the same. If you make the piece three inches longer it should also be three inches wider. On the other hand, if you want to make the head opening larger or smaller, increase or decrease the difference. To make the opening larger, increase the length more than the width. To make the opening smaller increase the width more than the length.
Ruana Size
The basic ruana is composed of two rectangles 22″ wide and 56″ long. This fits most adults pretty well. If you make the pieces wider, the wrap comes down farther on the arms and there is more cloth in wings. If you make the pieces a little longer the wrap falls closer to the knees. I just ask the person “normal or wide” and “longer or shorter”?

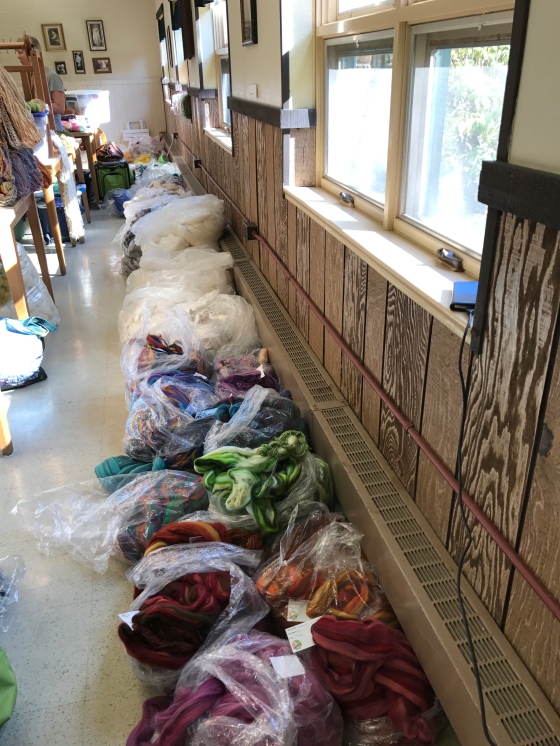
Here are pictures and descriptions of the wraps I have made so far.
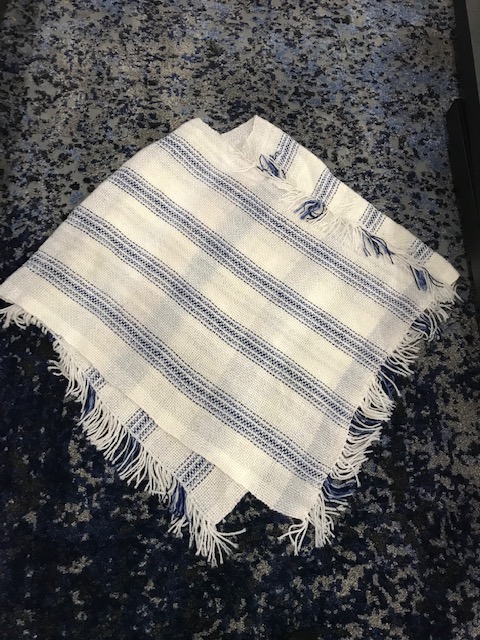
First Poncho – Practice
I made this one on my 25″ rigid heddle loom using the full width and a long stick shuttle. I warped it on an 8 dent heddle. The warp is a cream colored acrylic (unknown origin) with 10% of the ends Lion Brand Shawl-in-a-Ball color Namaste. The accent threads were distributed randomly. The weft is all cream acrylic. The fringe is 3″ long and each end is hemstitched 3×2 threads.


This poncho was a bit too small in the neck opening but fits a child so it did not go to waste.
My rigid heddle loom was just barely wide enough if I used the whole width. So for the rest of the wraps I used my 36″ wide, 4 harness floor loom.
Abby’s Poncho
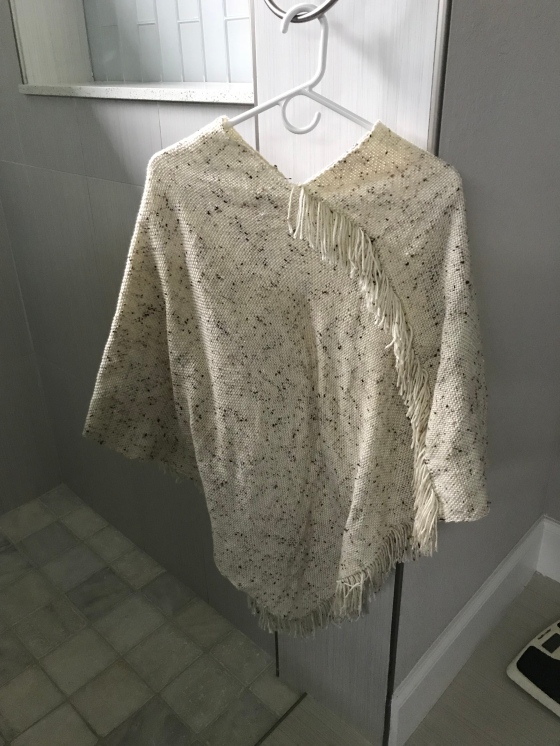
For my second attempt I switched to the floor loom, adjusted the dimensions, and used a single yarn for all the warp and weft. In this case, the yarn I used was Caron Simply Soft in an off-white tweed color. The yarn itself had enough interesting variation that no other accent was needed.
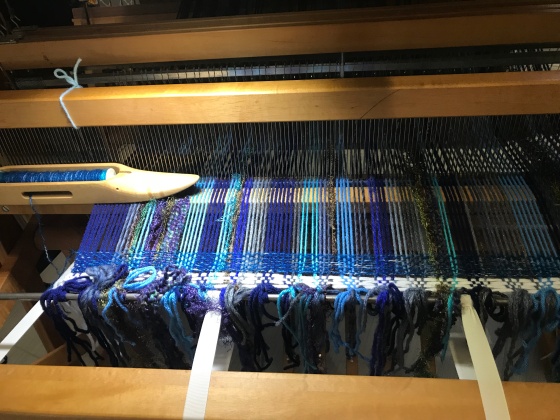
I have been reading how others provide a little tension when winding on the warp when there is no one around to help. This idea with cans seemed simple but it didn’t work. Right after this picture was taken the yarn popped off the top of all the cans.


Kathy’s Poncho


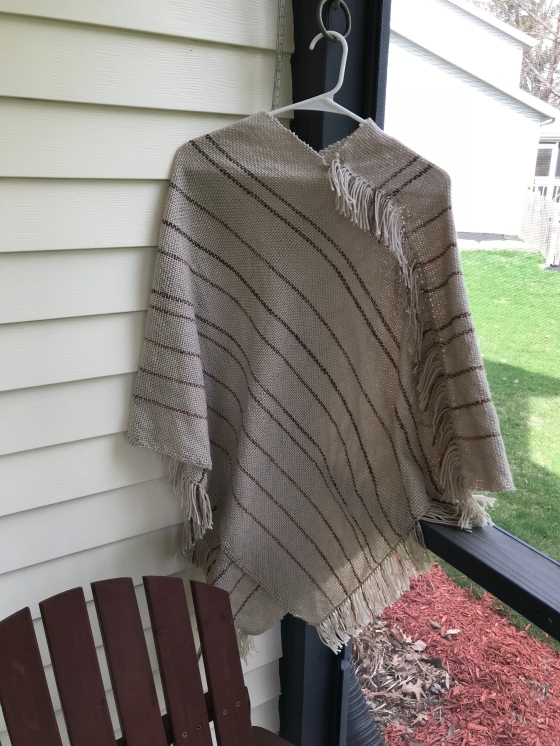
When my friend saw the first poncho I made she expressed an interest in one. I asked what color and she said teal. So here is the poncho I made her. This one is also done with an 8-dent reed. The warp is an acrylic yarn (unknown) and the weft is Shawl-in-a-Ball color Healing Teal.
I forgot to take pictures while I was working on it so I had to ask her to send me some. I love the way her pictures show two different ways you can wear the poncho.
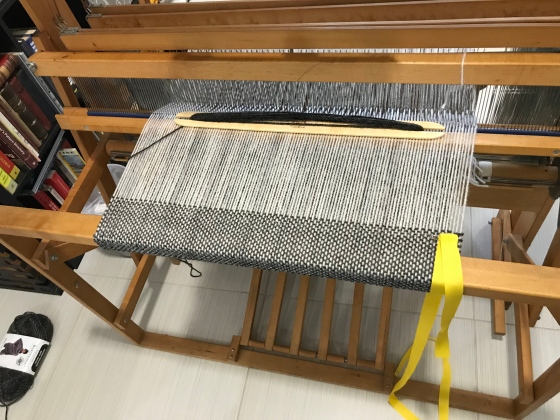
Purple Poncho
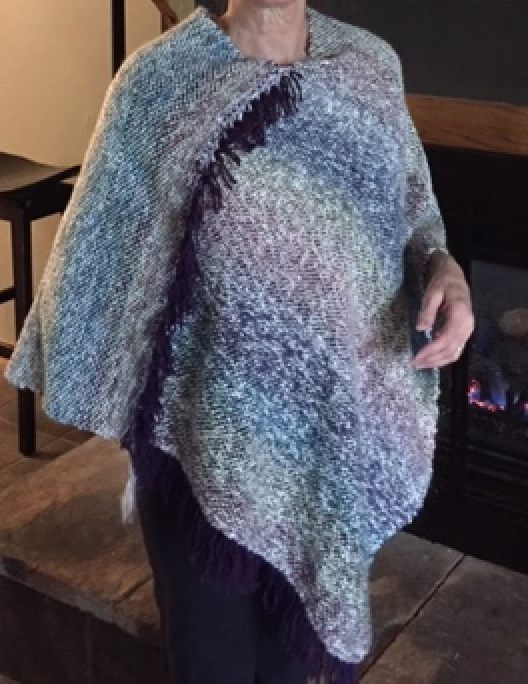
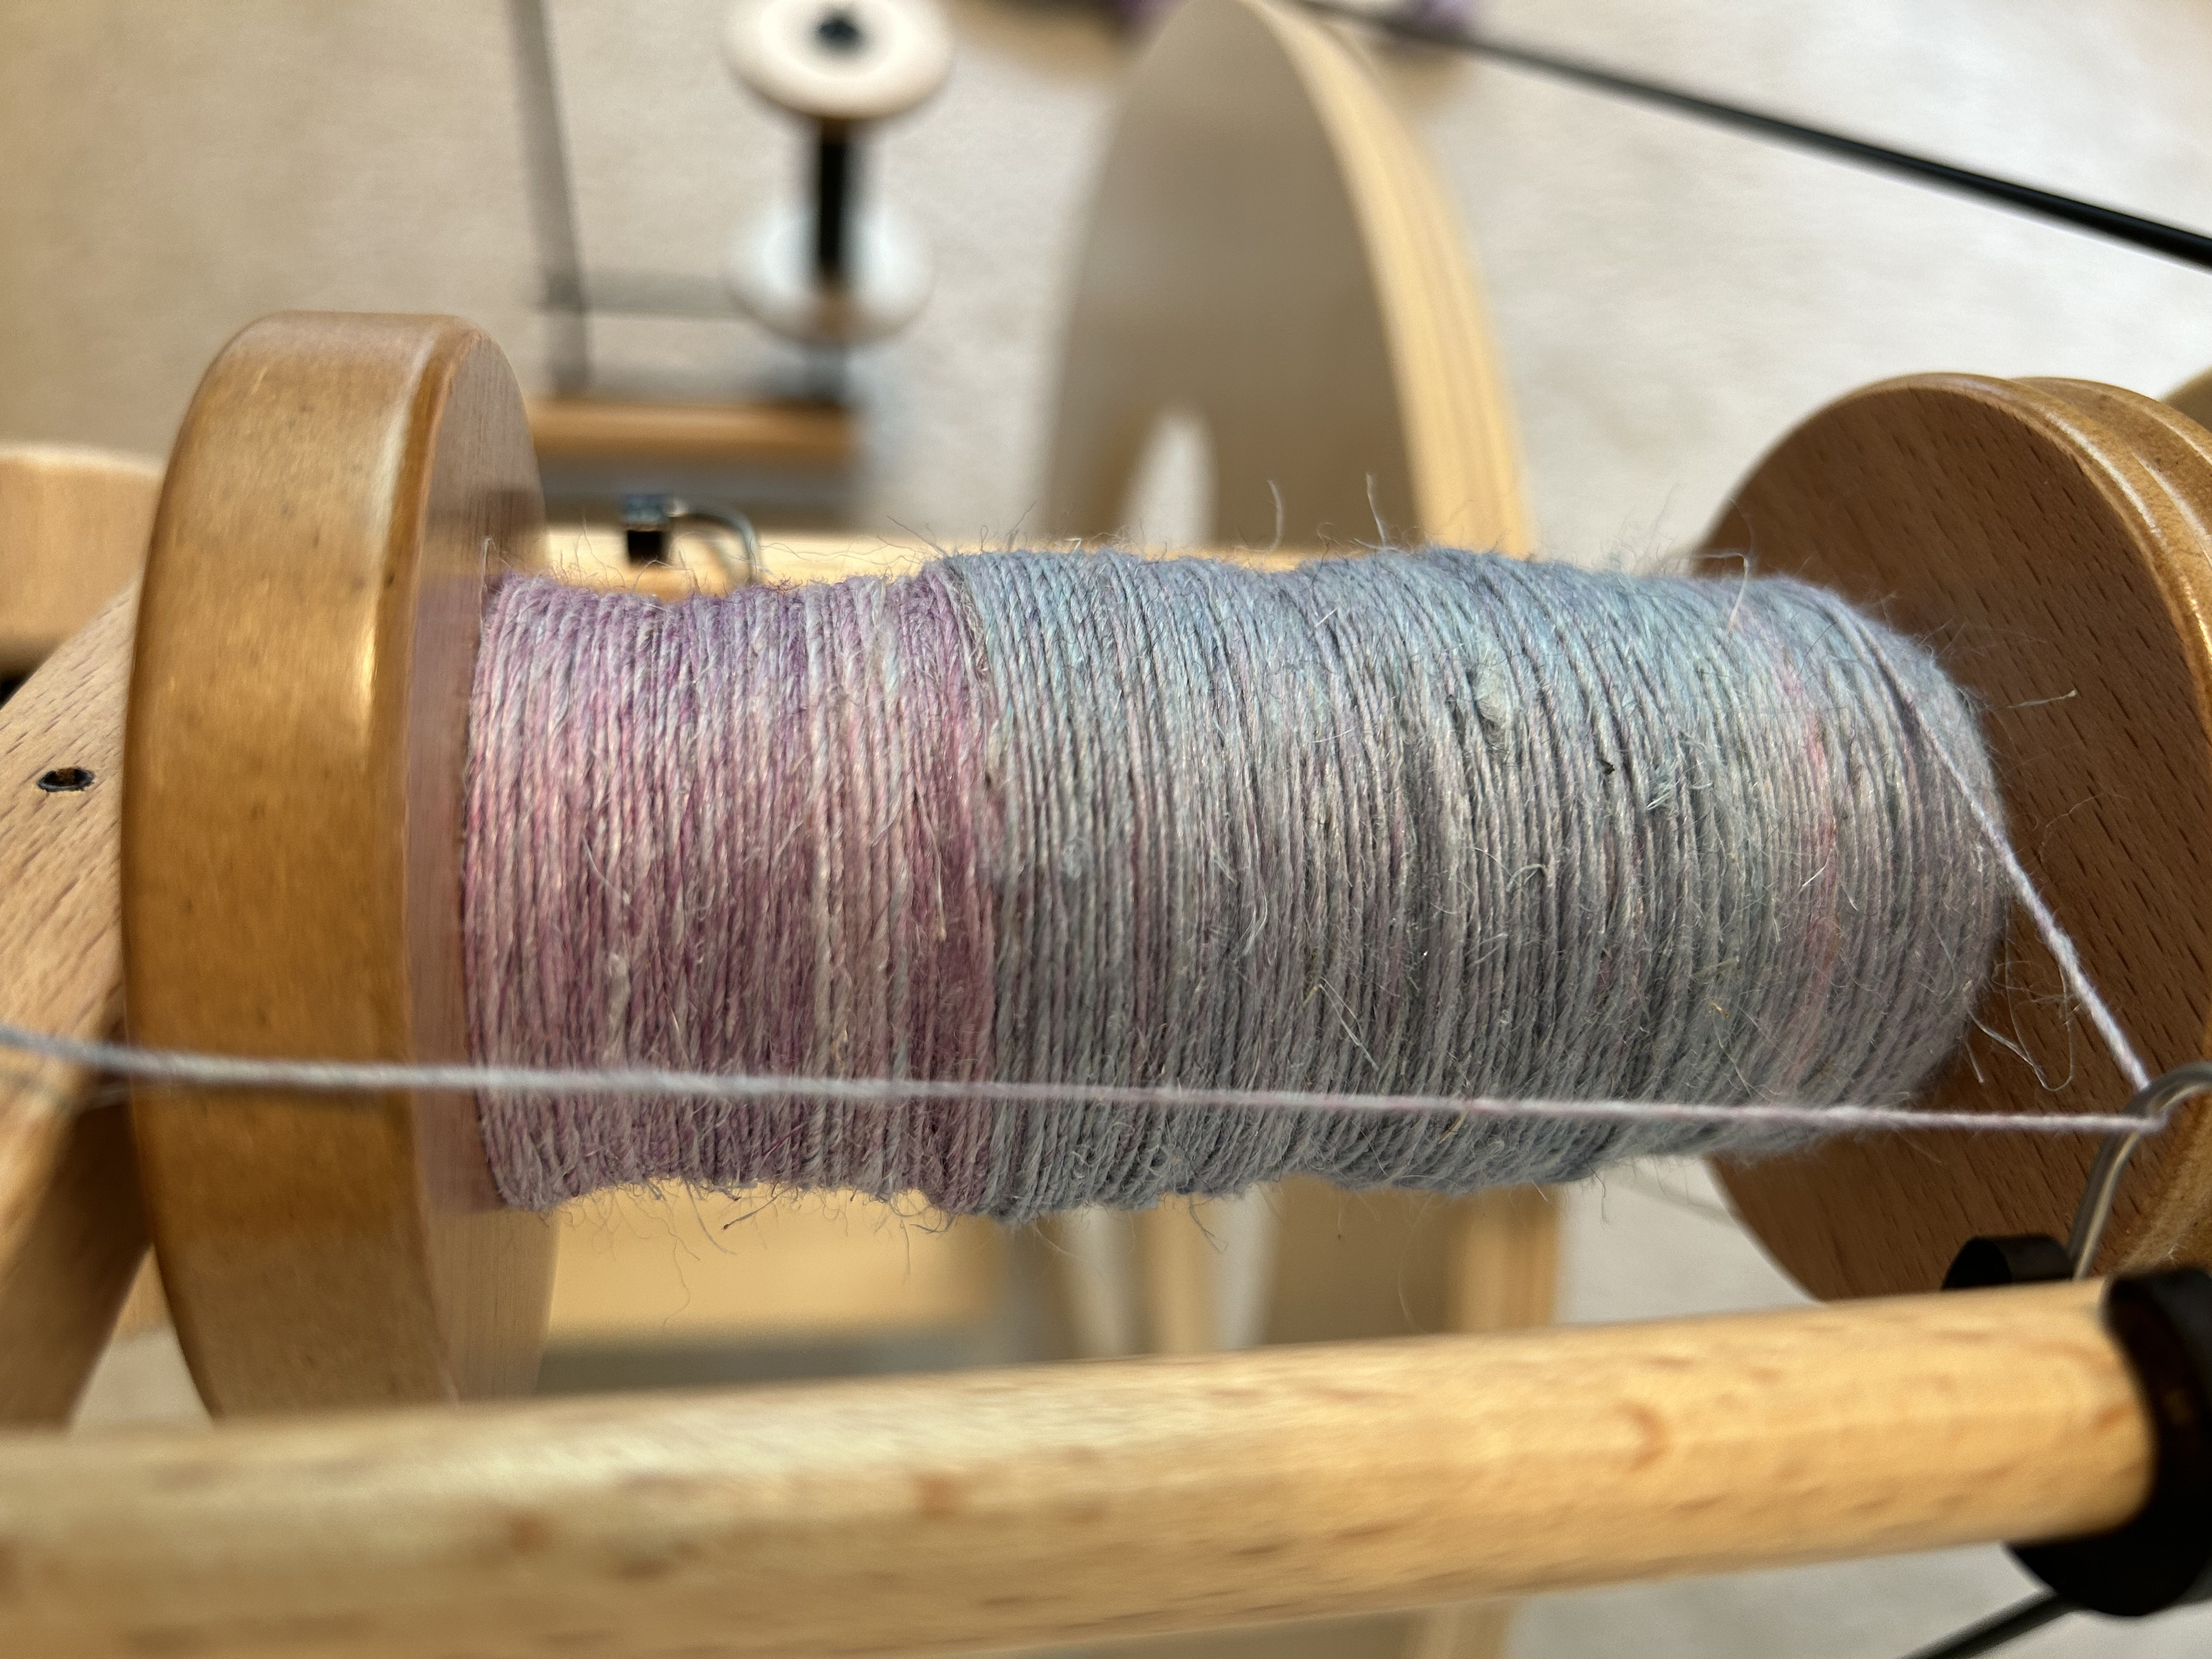
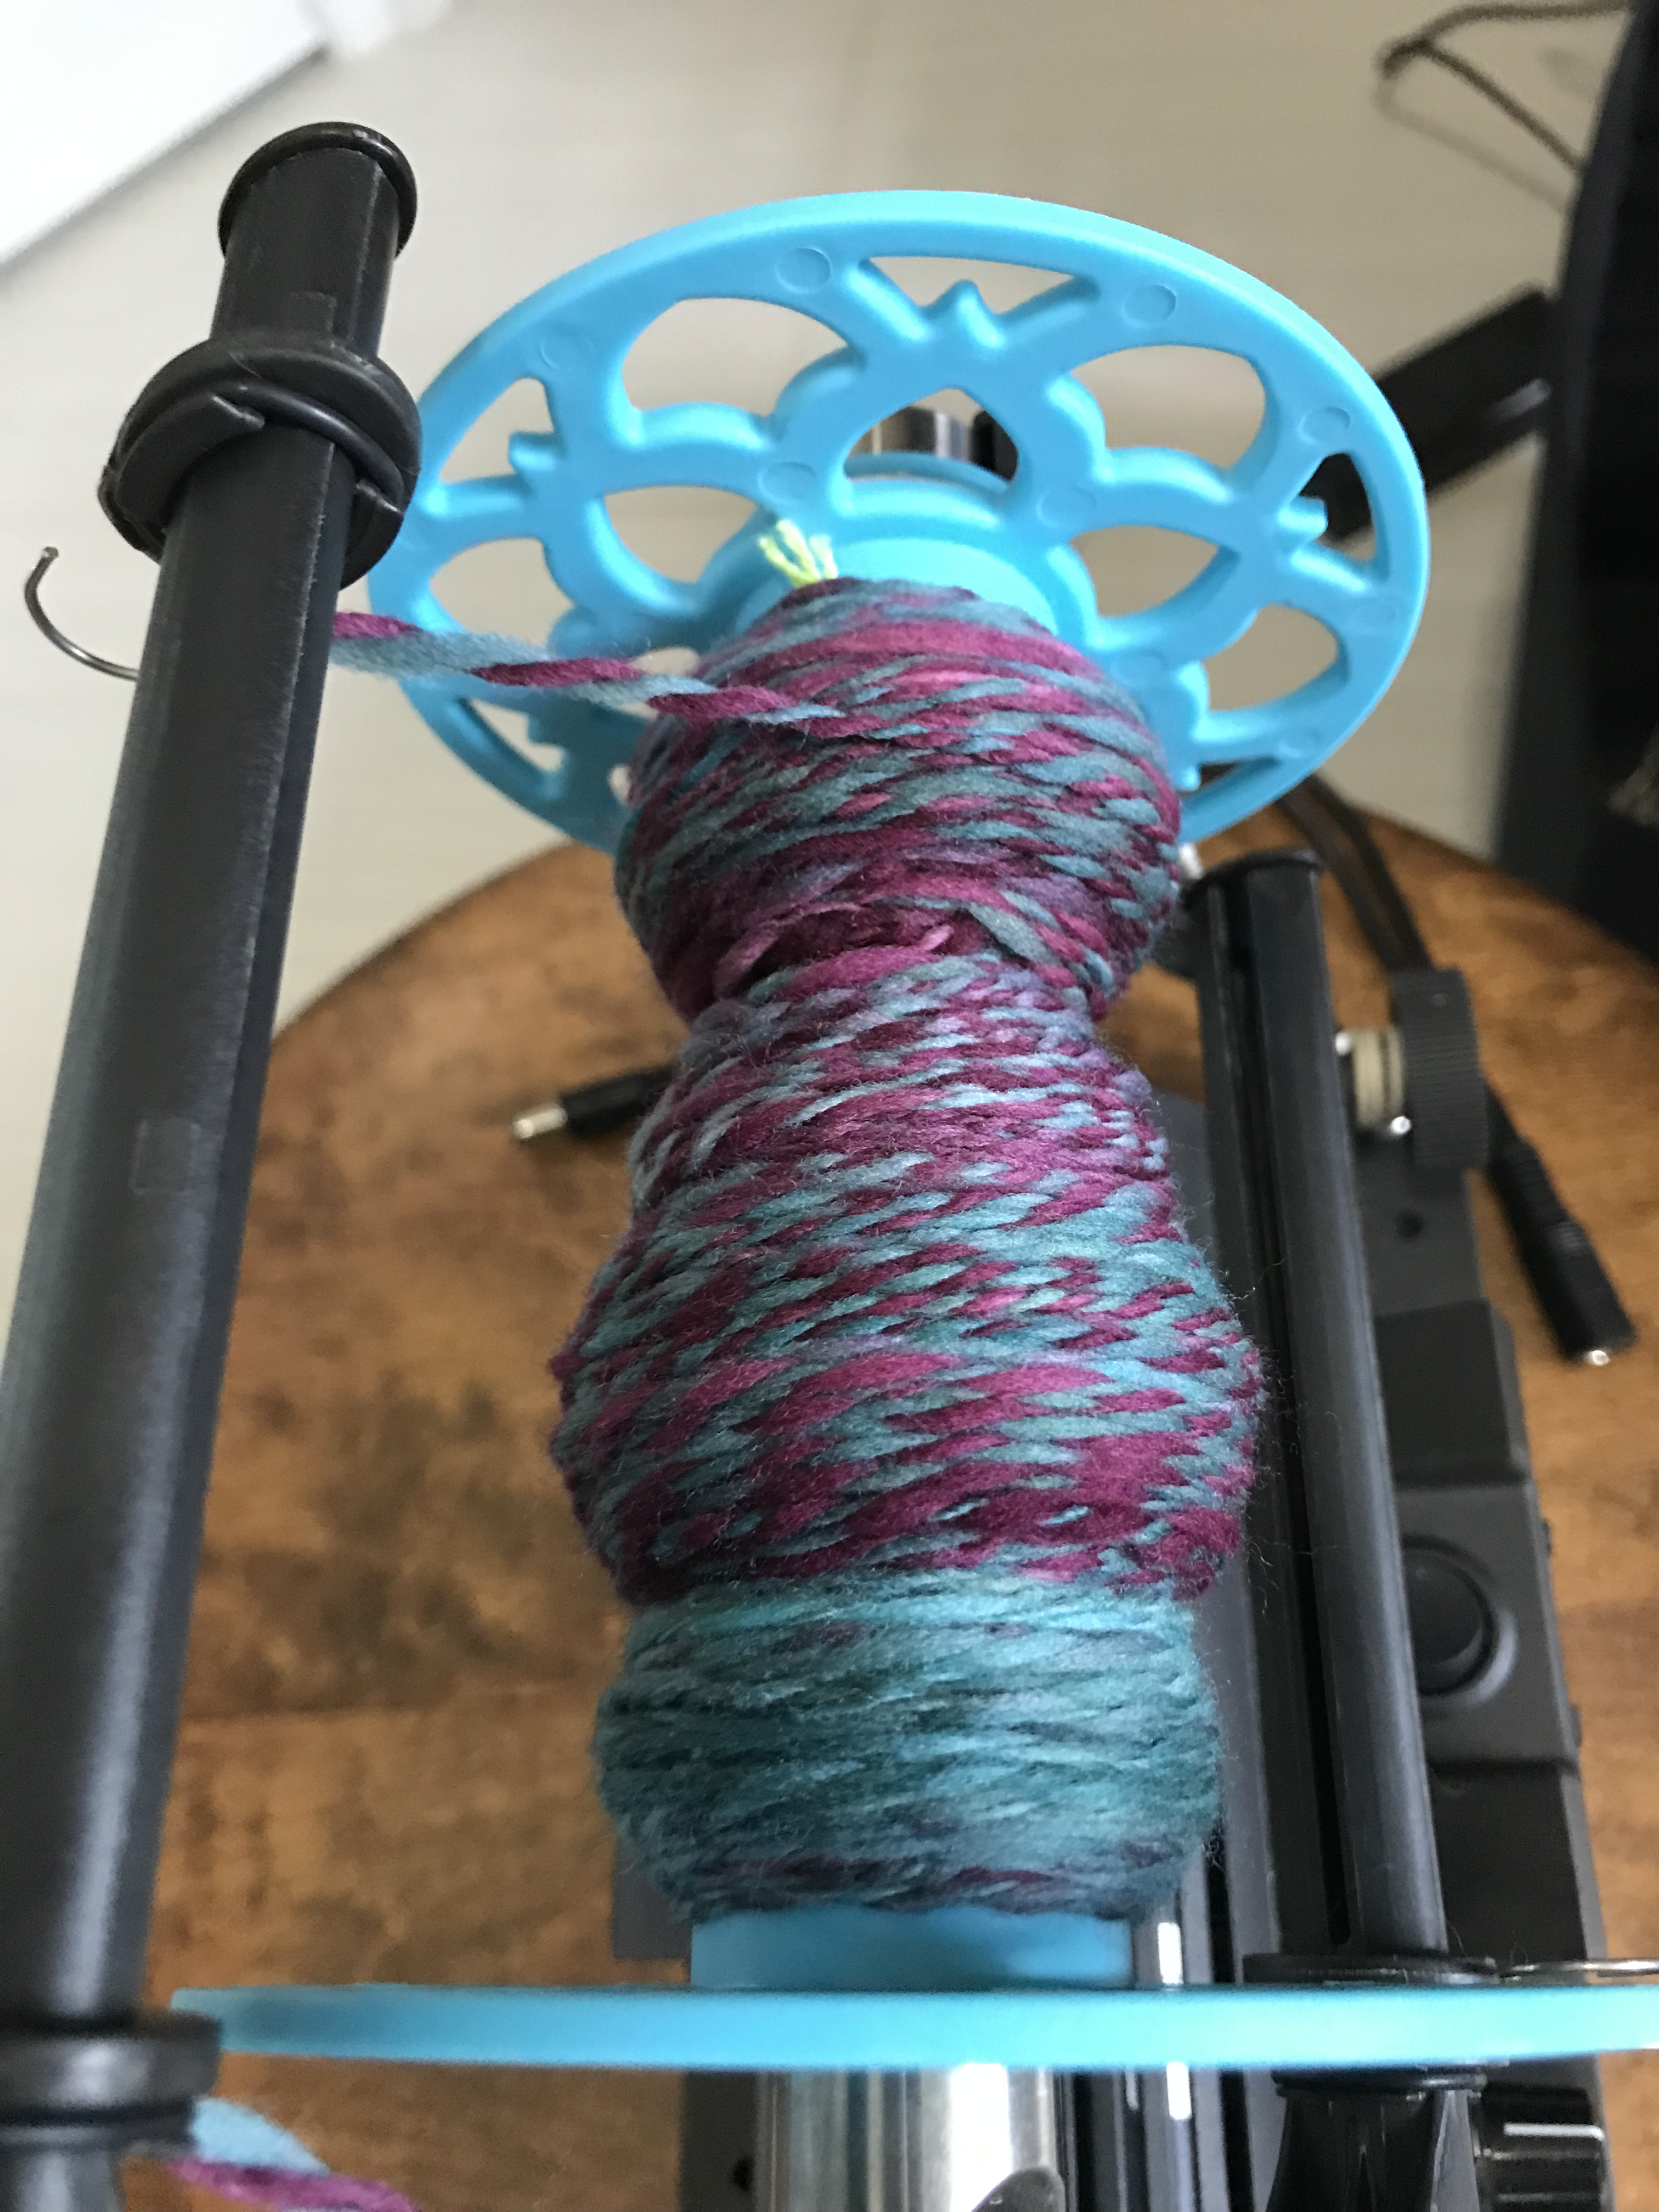
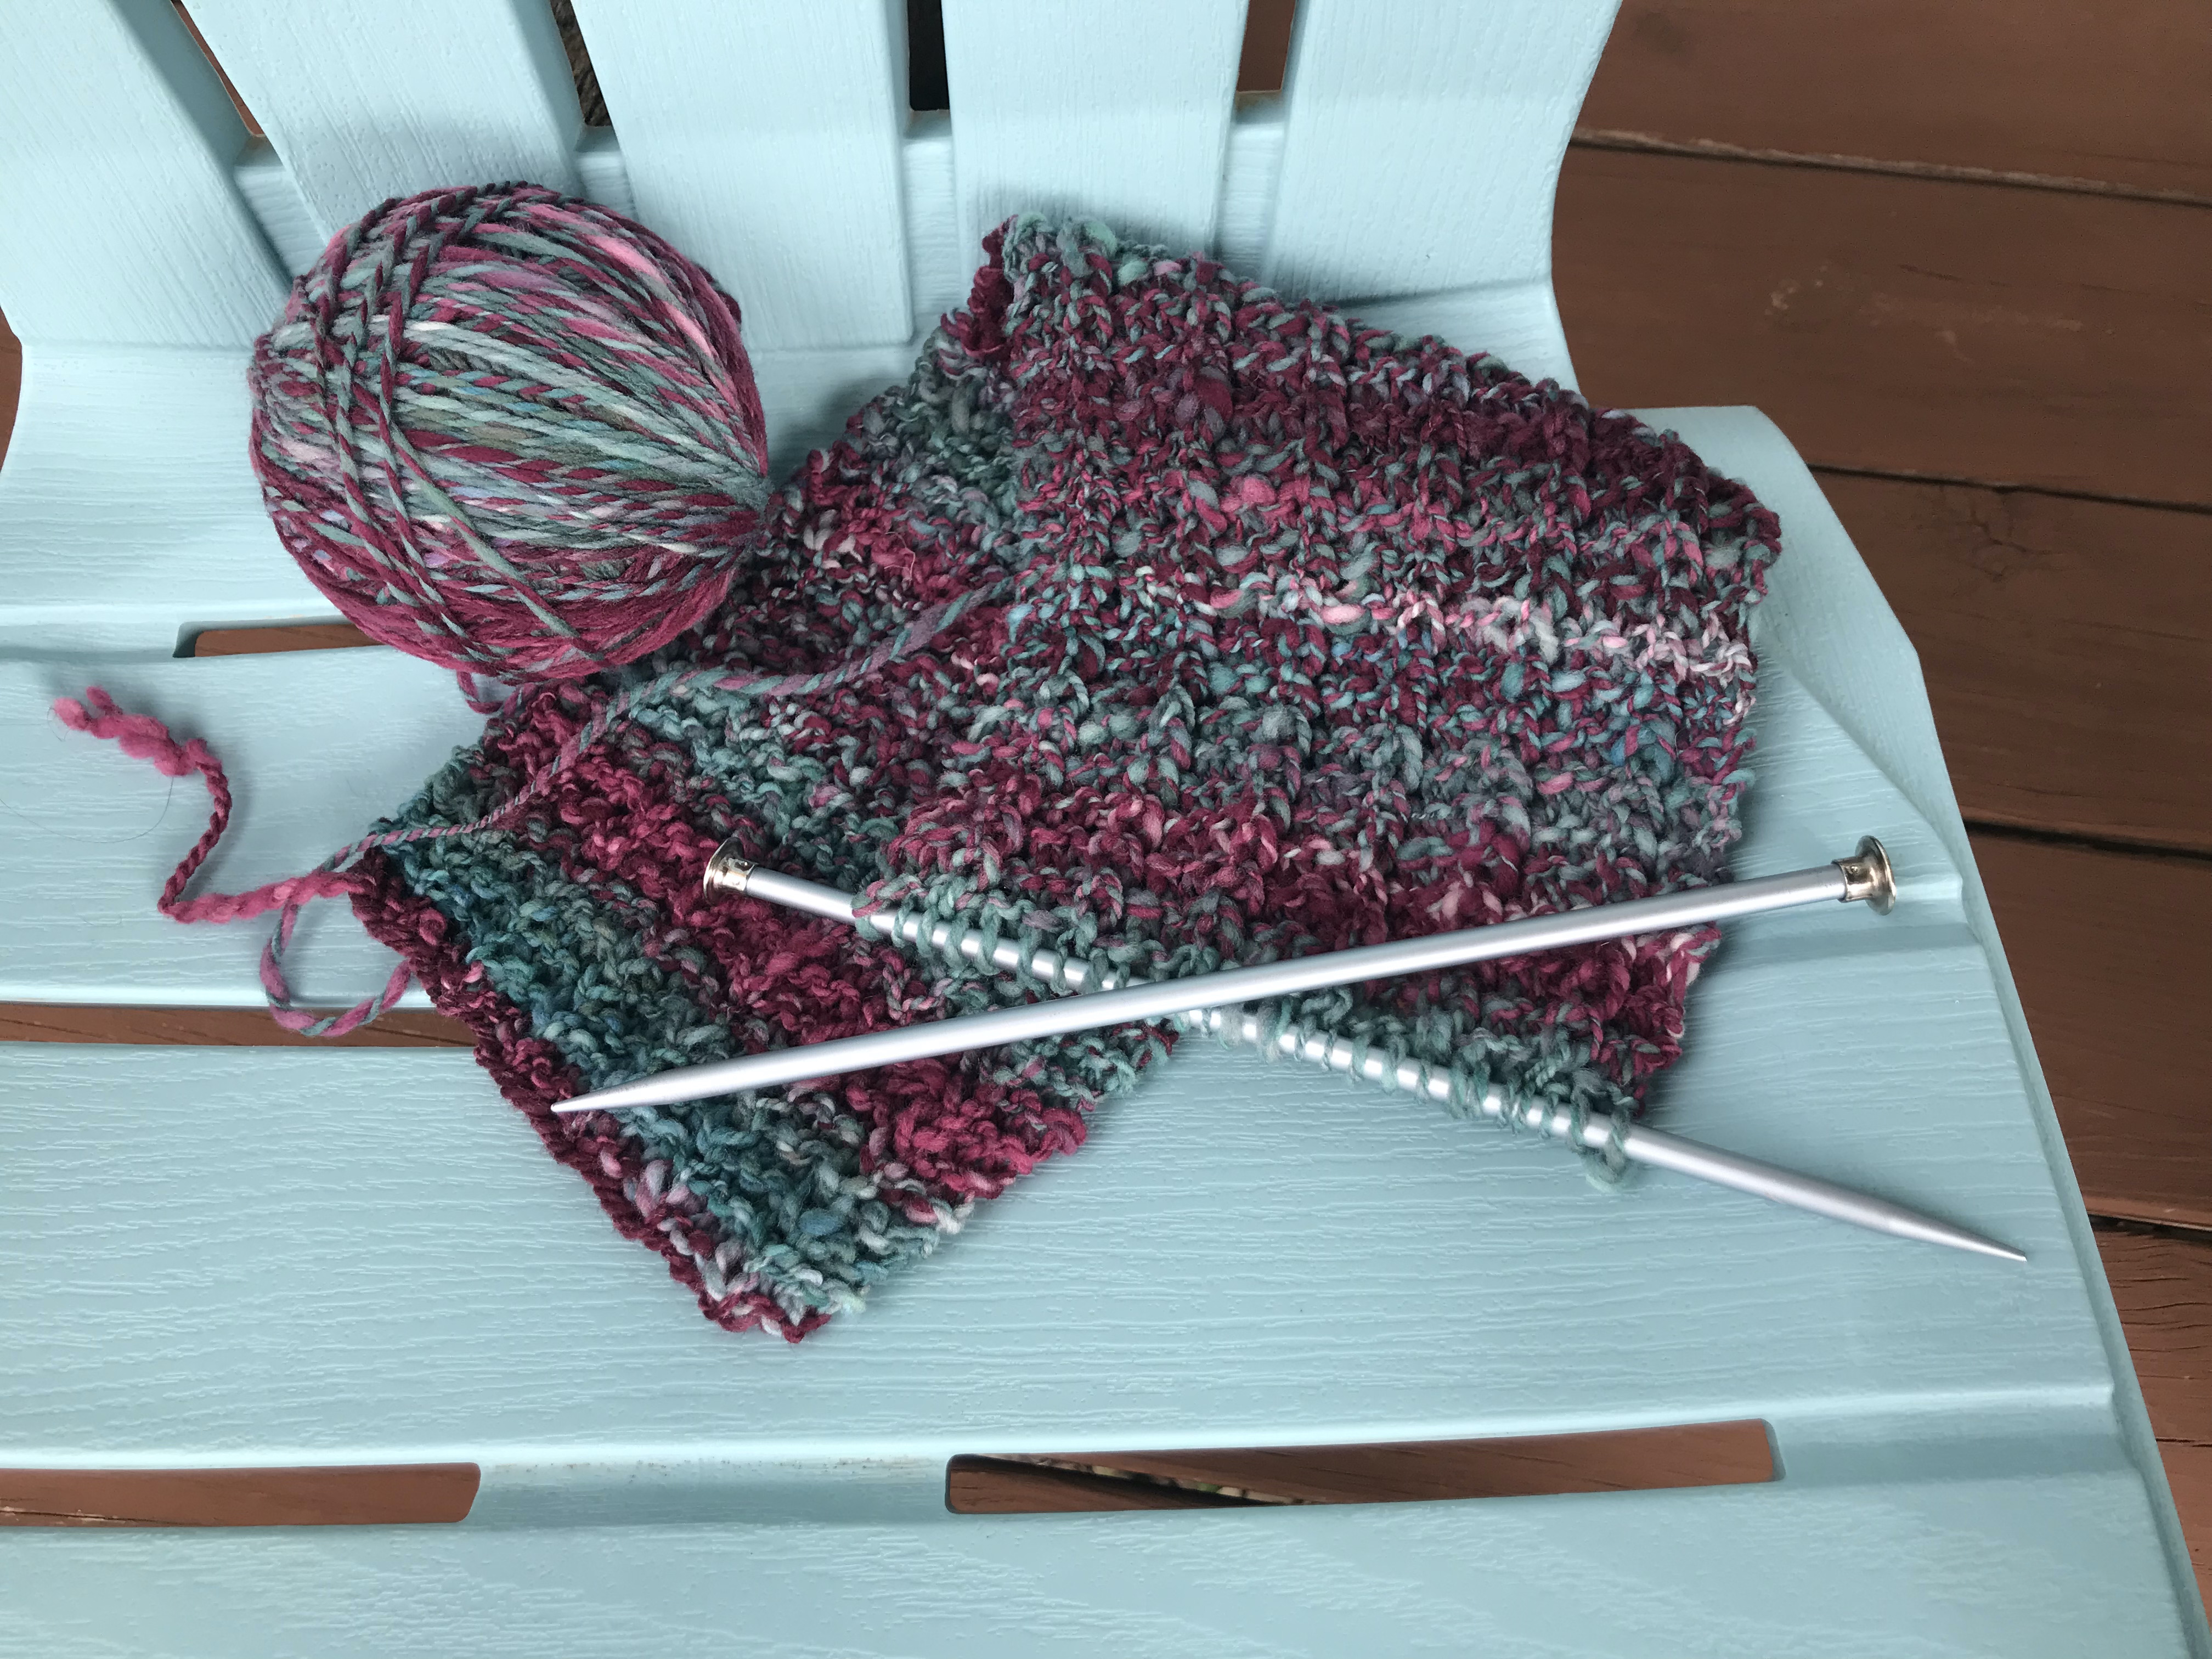
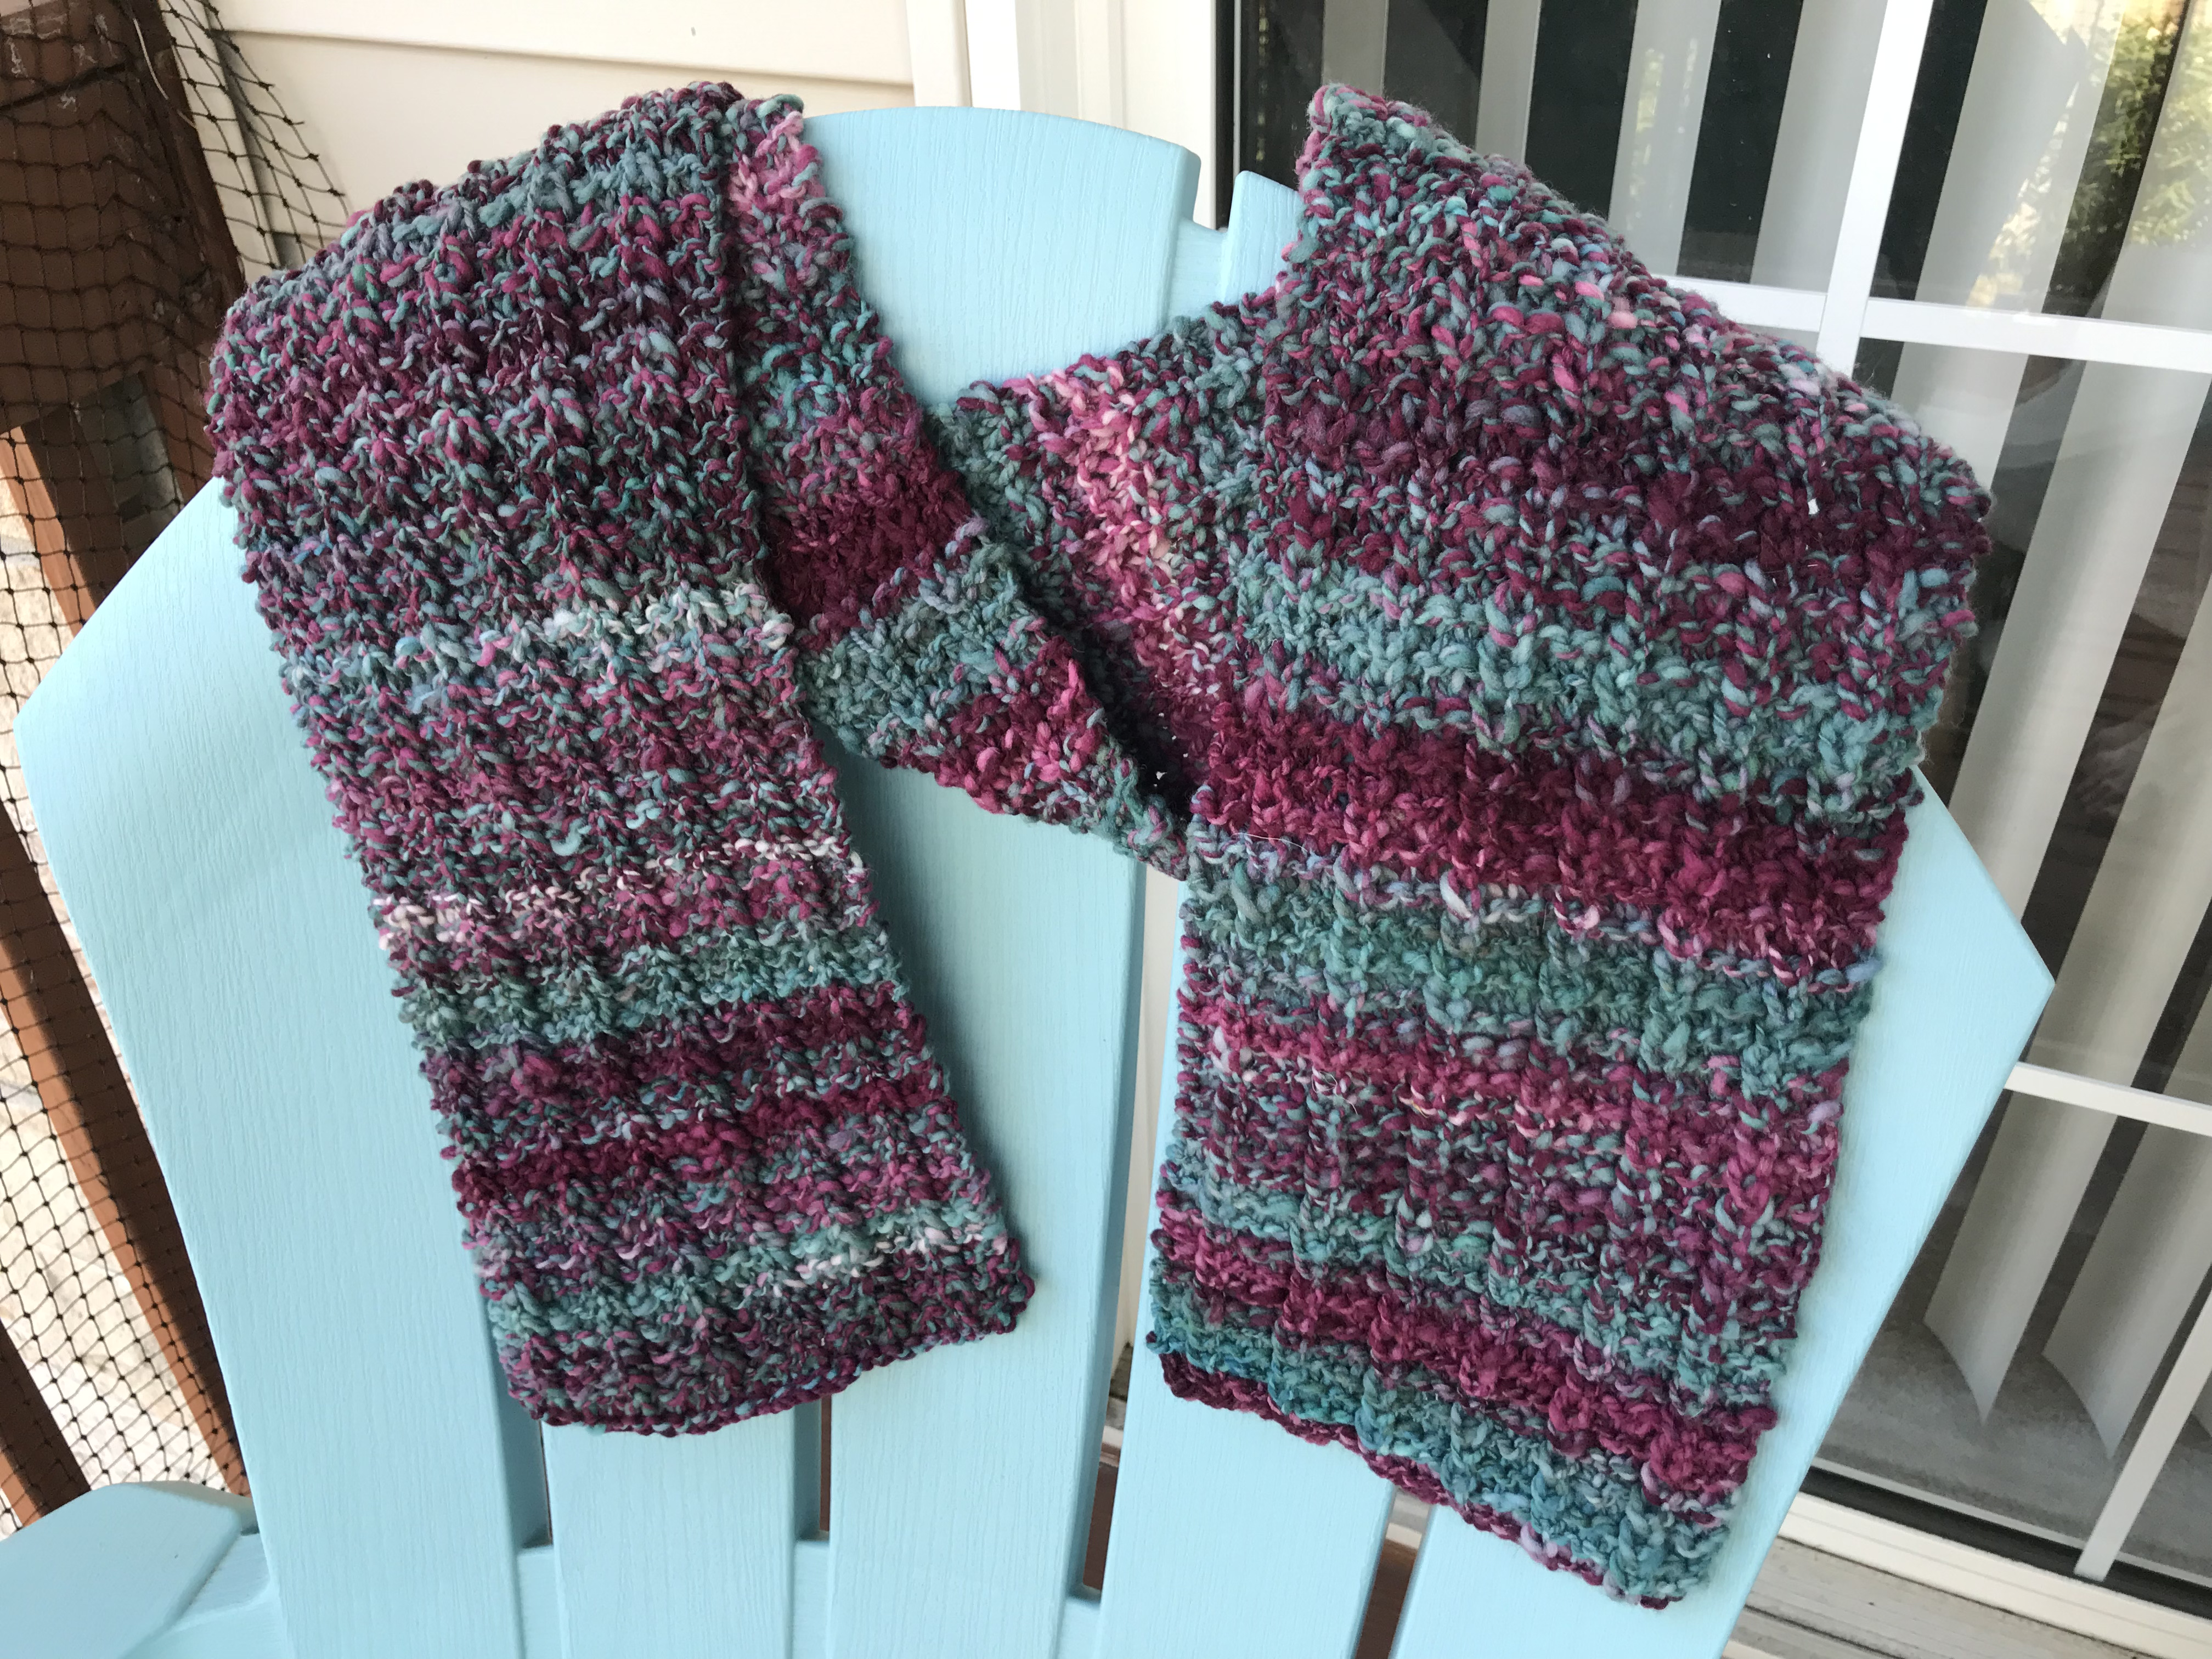
This poncho was the first thing I wove with my new 5-dent reed. The warp is Vanna’s Choice in the color Imperial Mauve and the weft is Home Spun in the color Tutor. I have tried weaving with the Home Spun before to weave a scarf. It looked pretty but felt like a thick rug. So I knew enough this time to “set” the weft in place rather than beating it in vigorously. The results were good. The poncho is fluffy and has a nice drape.


There is a lot of variation in color in this yarn. As a result the two piece of the poncho look quite different from each other. Since the poncho is symmetrical front and back, it can be worn with which ever set of colors you like facing the front. Perhaps in the future I will make one where the two rectangles are completely different from each other, though complimentary. After all, a small bit of the back piece is visible from the front depending on how the poncho is worn.
Saori Style Blue Poncho
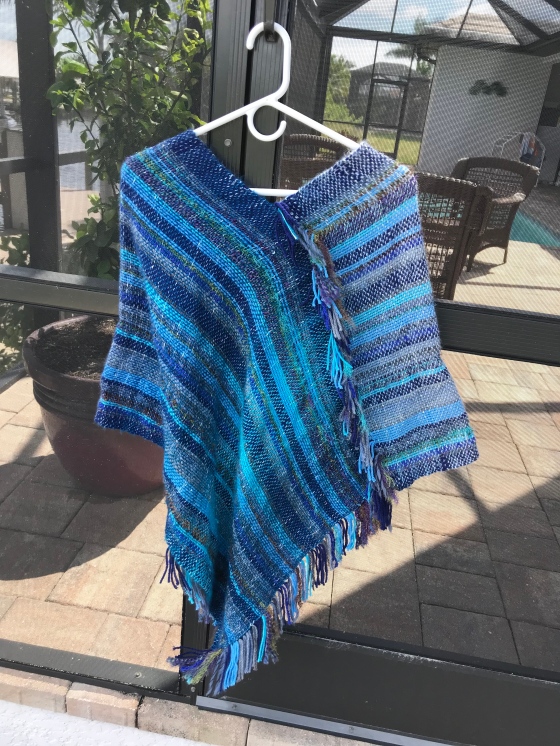
Saori style weaving is so pretty. As much as I read about it, it is hard to find a single definition. Most agree that it is a free form style with no rules. In this wrap I used a variety of warp threads, all in the blue family. It was great fun. The weft is Shawl-in-a-Ball in color Healing Teal.
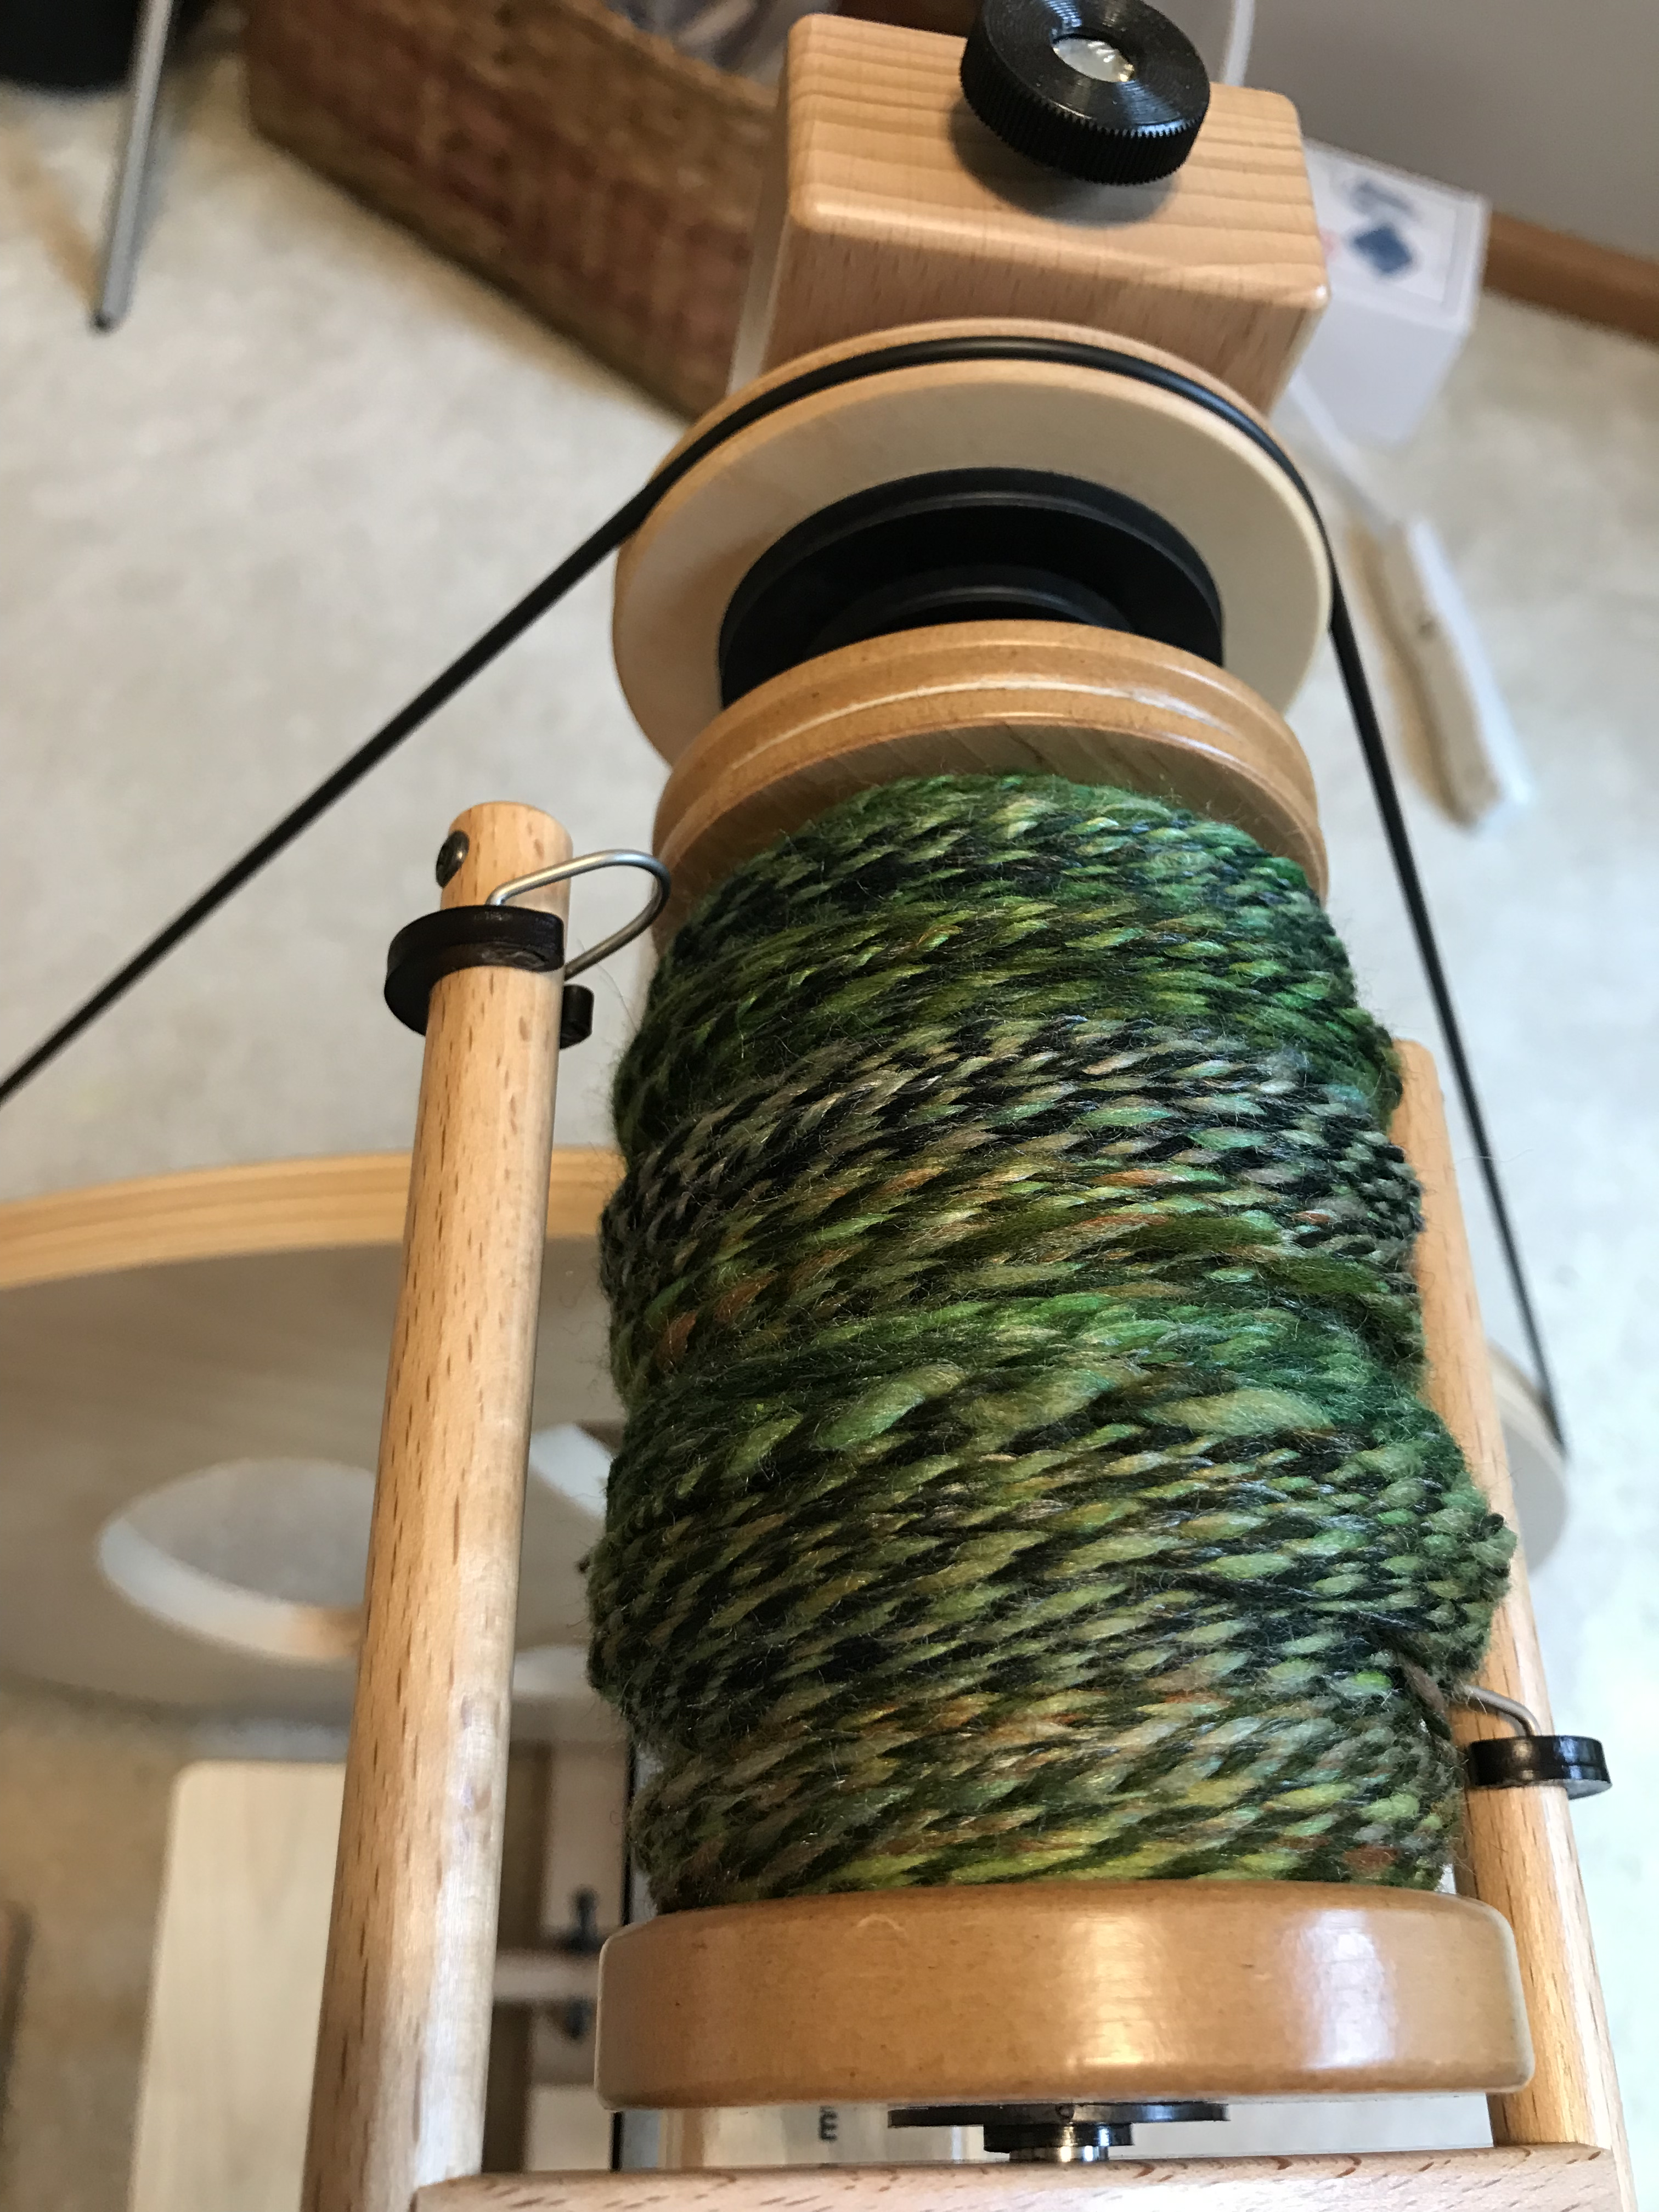
I am still a pretty new weaver and one of things I struggle with is how to warp with multiple types of yarn. Some advise that you tie off each color on the warping board creating a single warp that can be threaded in order. I wanted to “design at the reed” rather than figure out the order of the thread ahead of time. So I measured out all the warp for each yarn separately and then sat down and tried to put it all together. At first it looked like it was going to be an impossible mess. But after I straightened it out, the warp started to behave.


I hoped that by choosing a light weight weft thread, the characteristics of the warp would show better. I think it was a good idea. Though some of the “hairy” warp threads seems trapped by the weft. In the end I went along and brushed them a little to release the fluffy fibers.
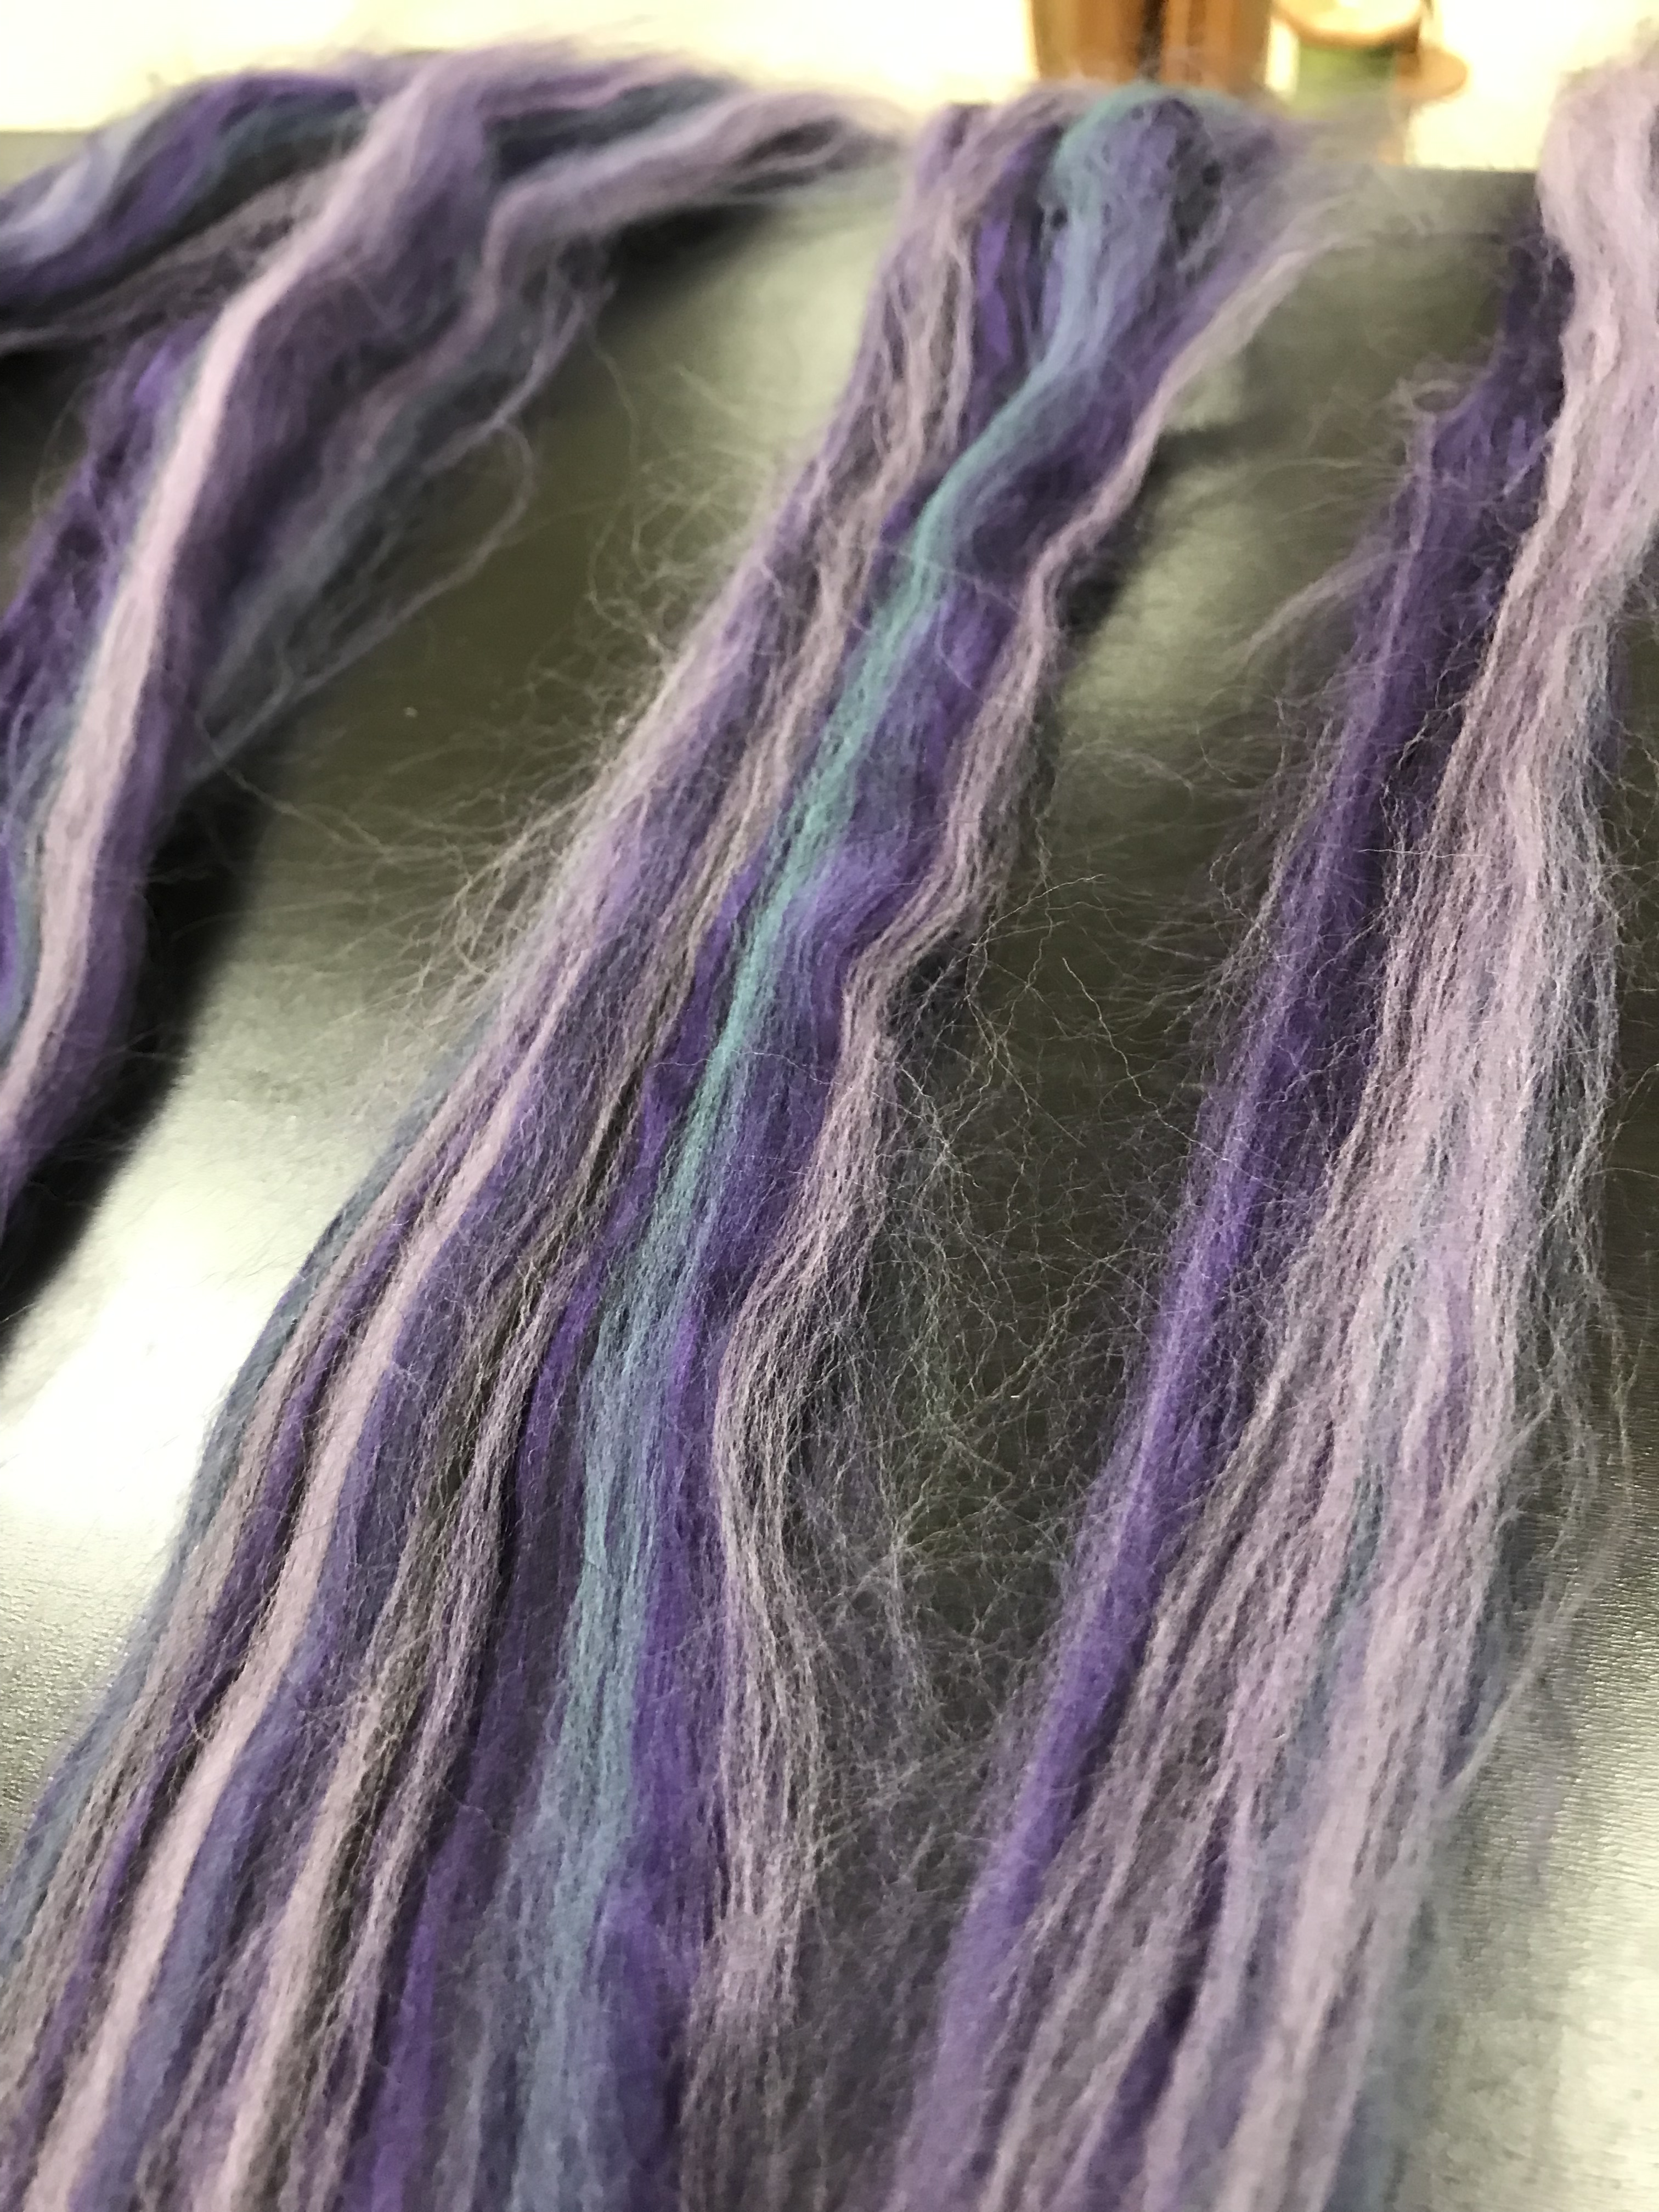
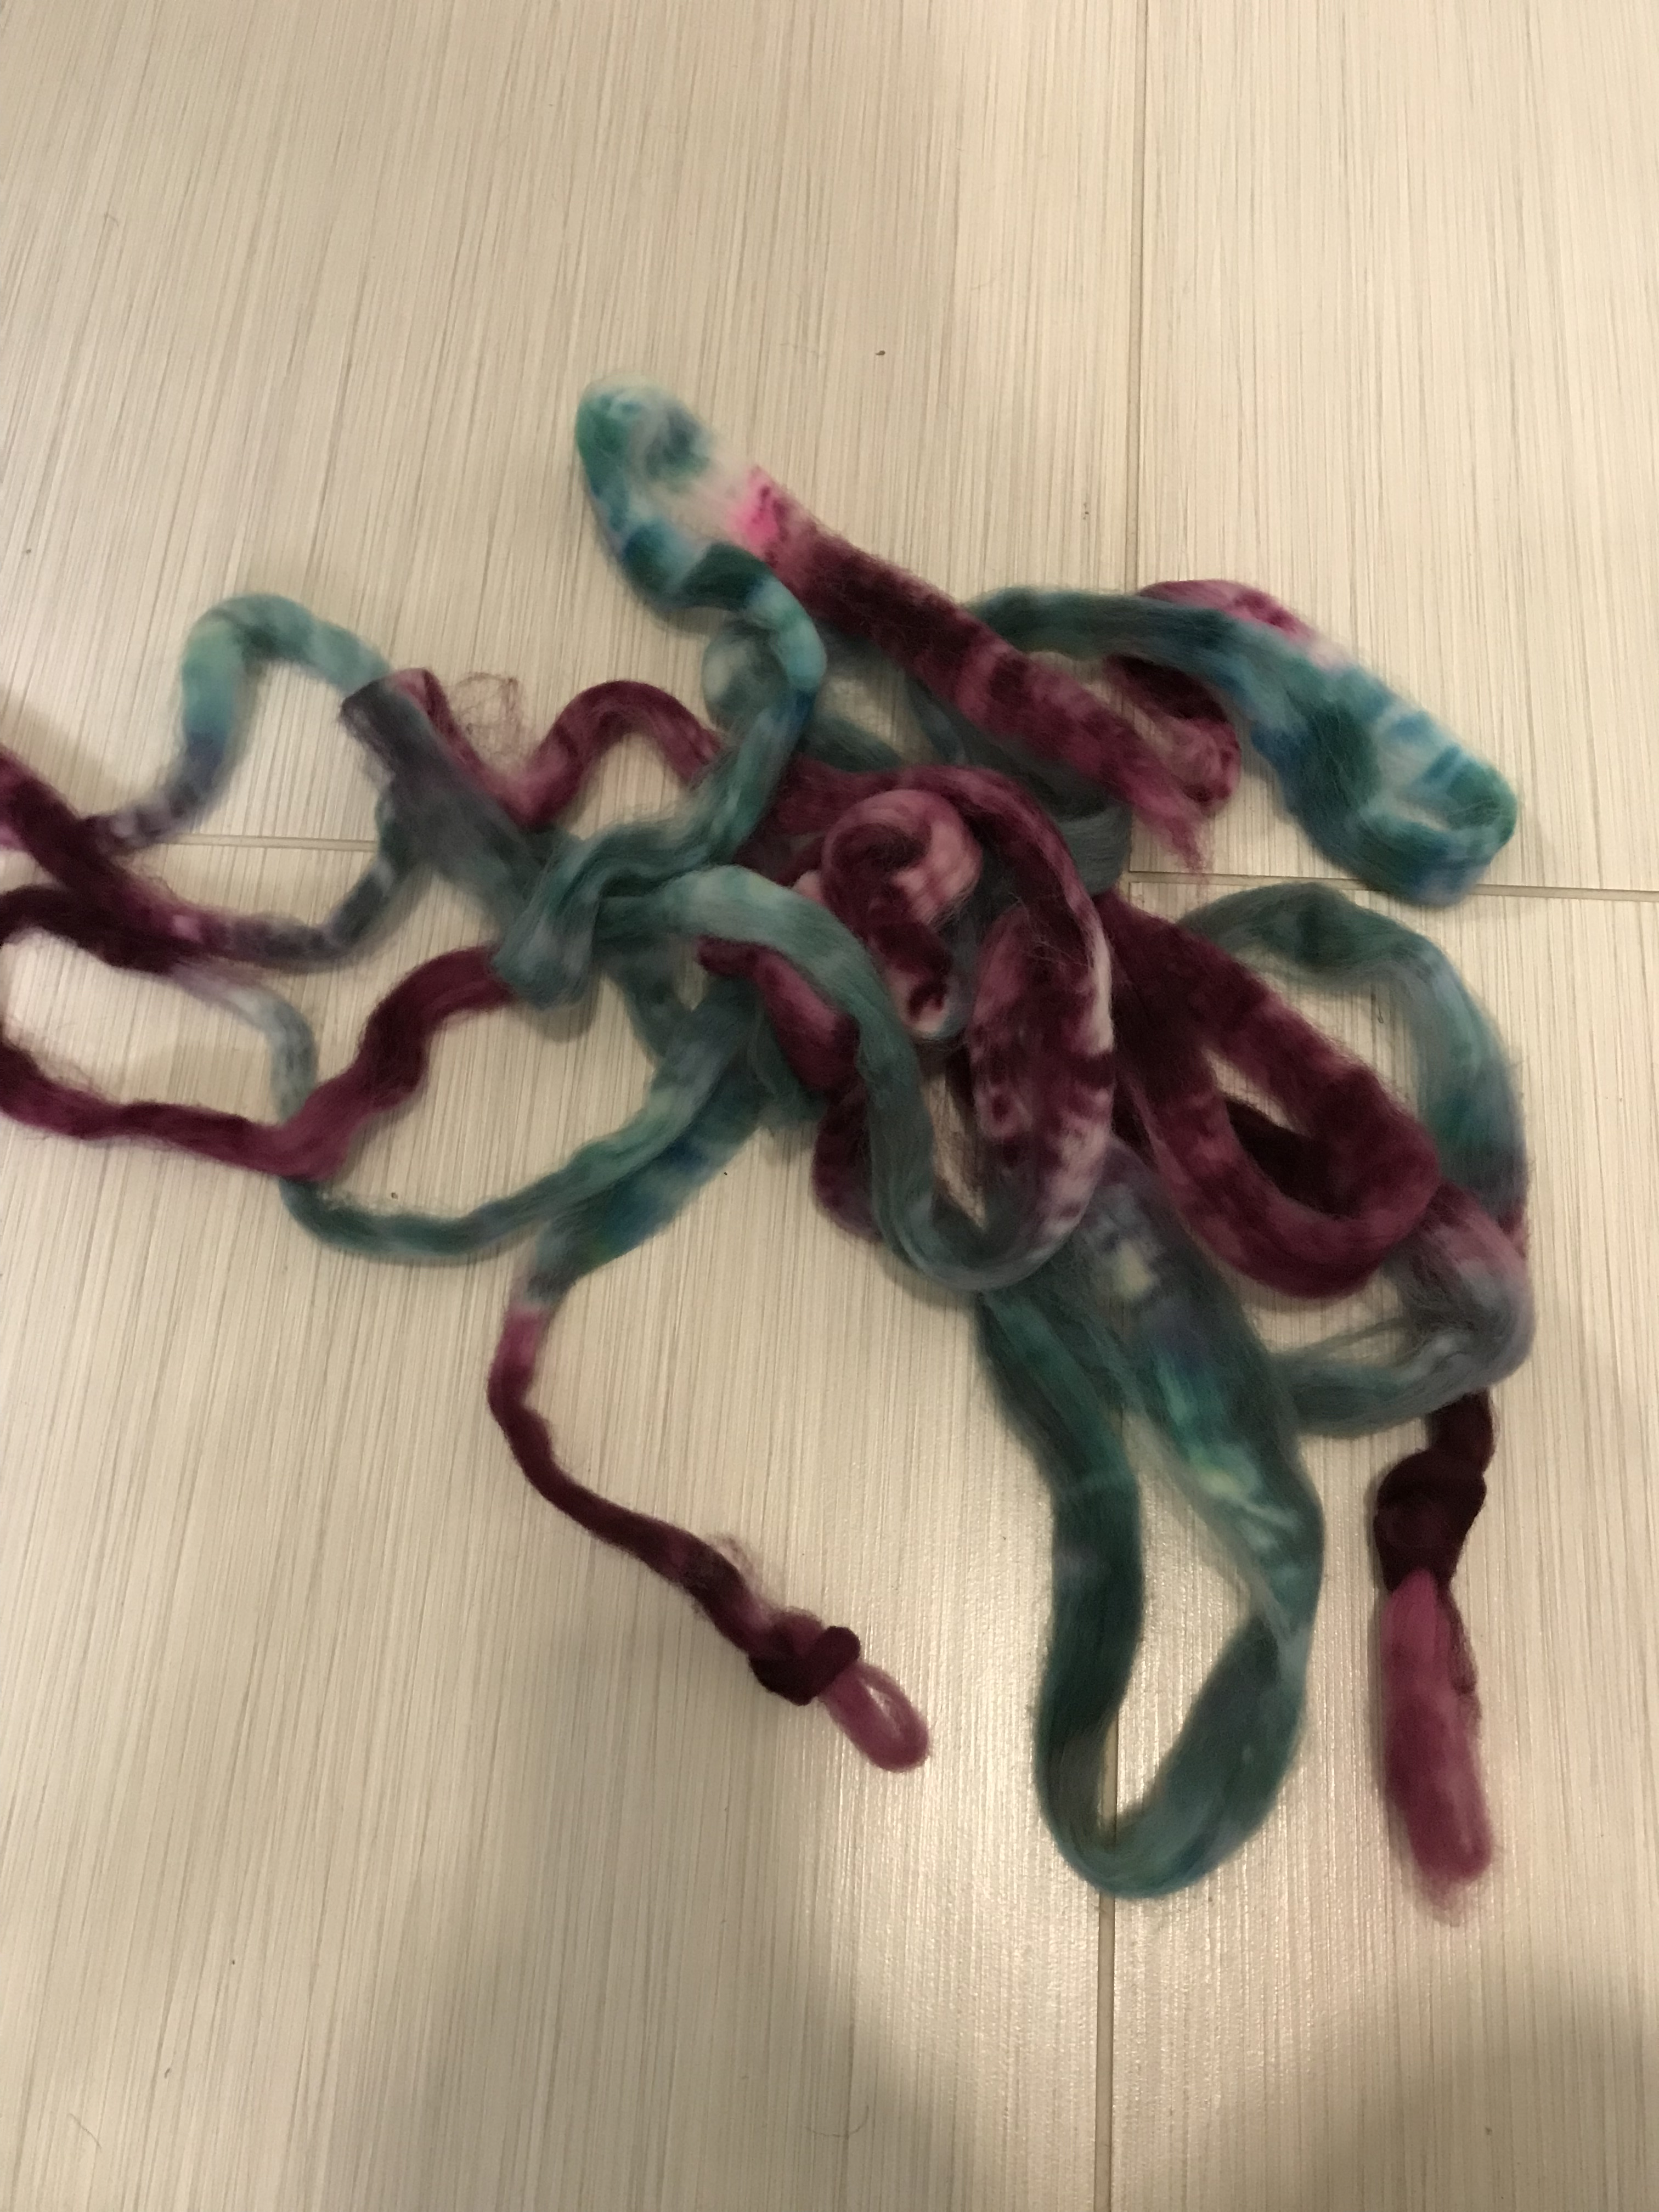
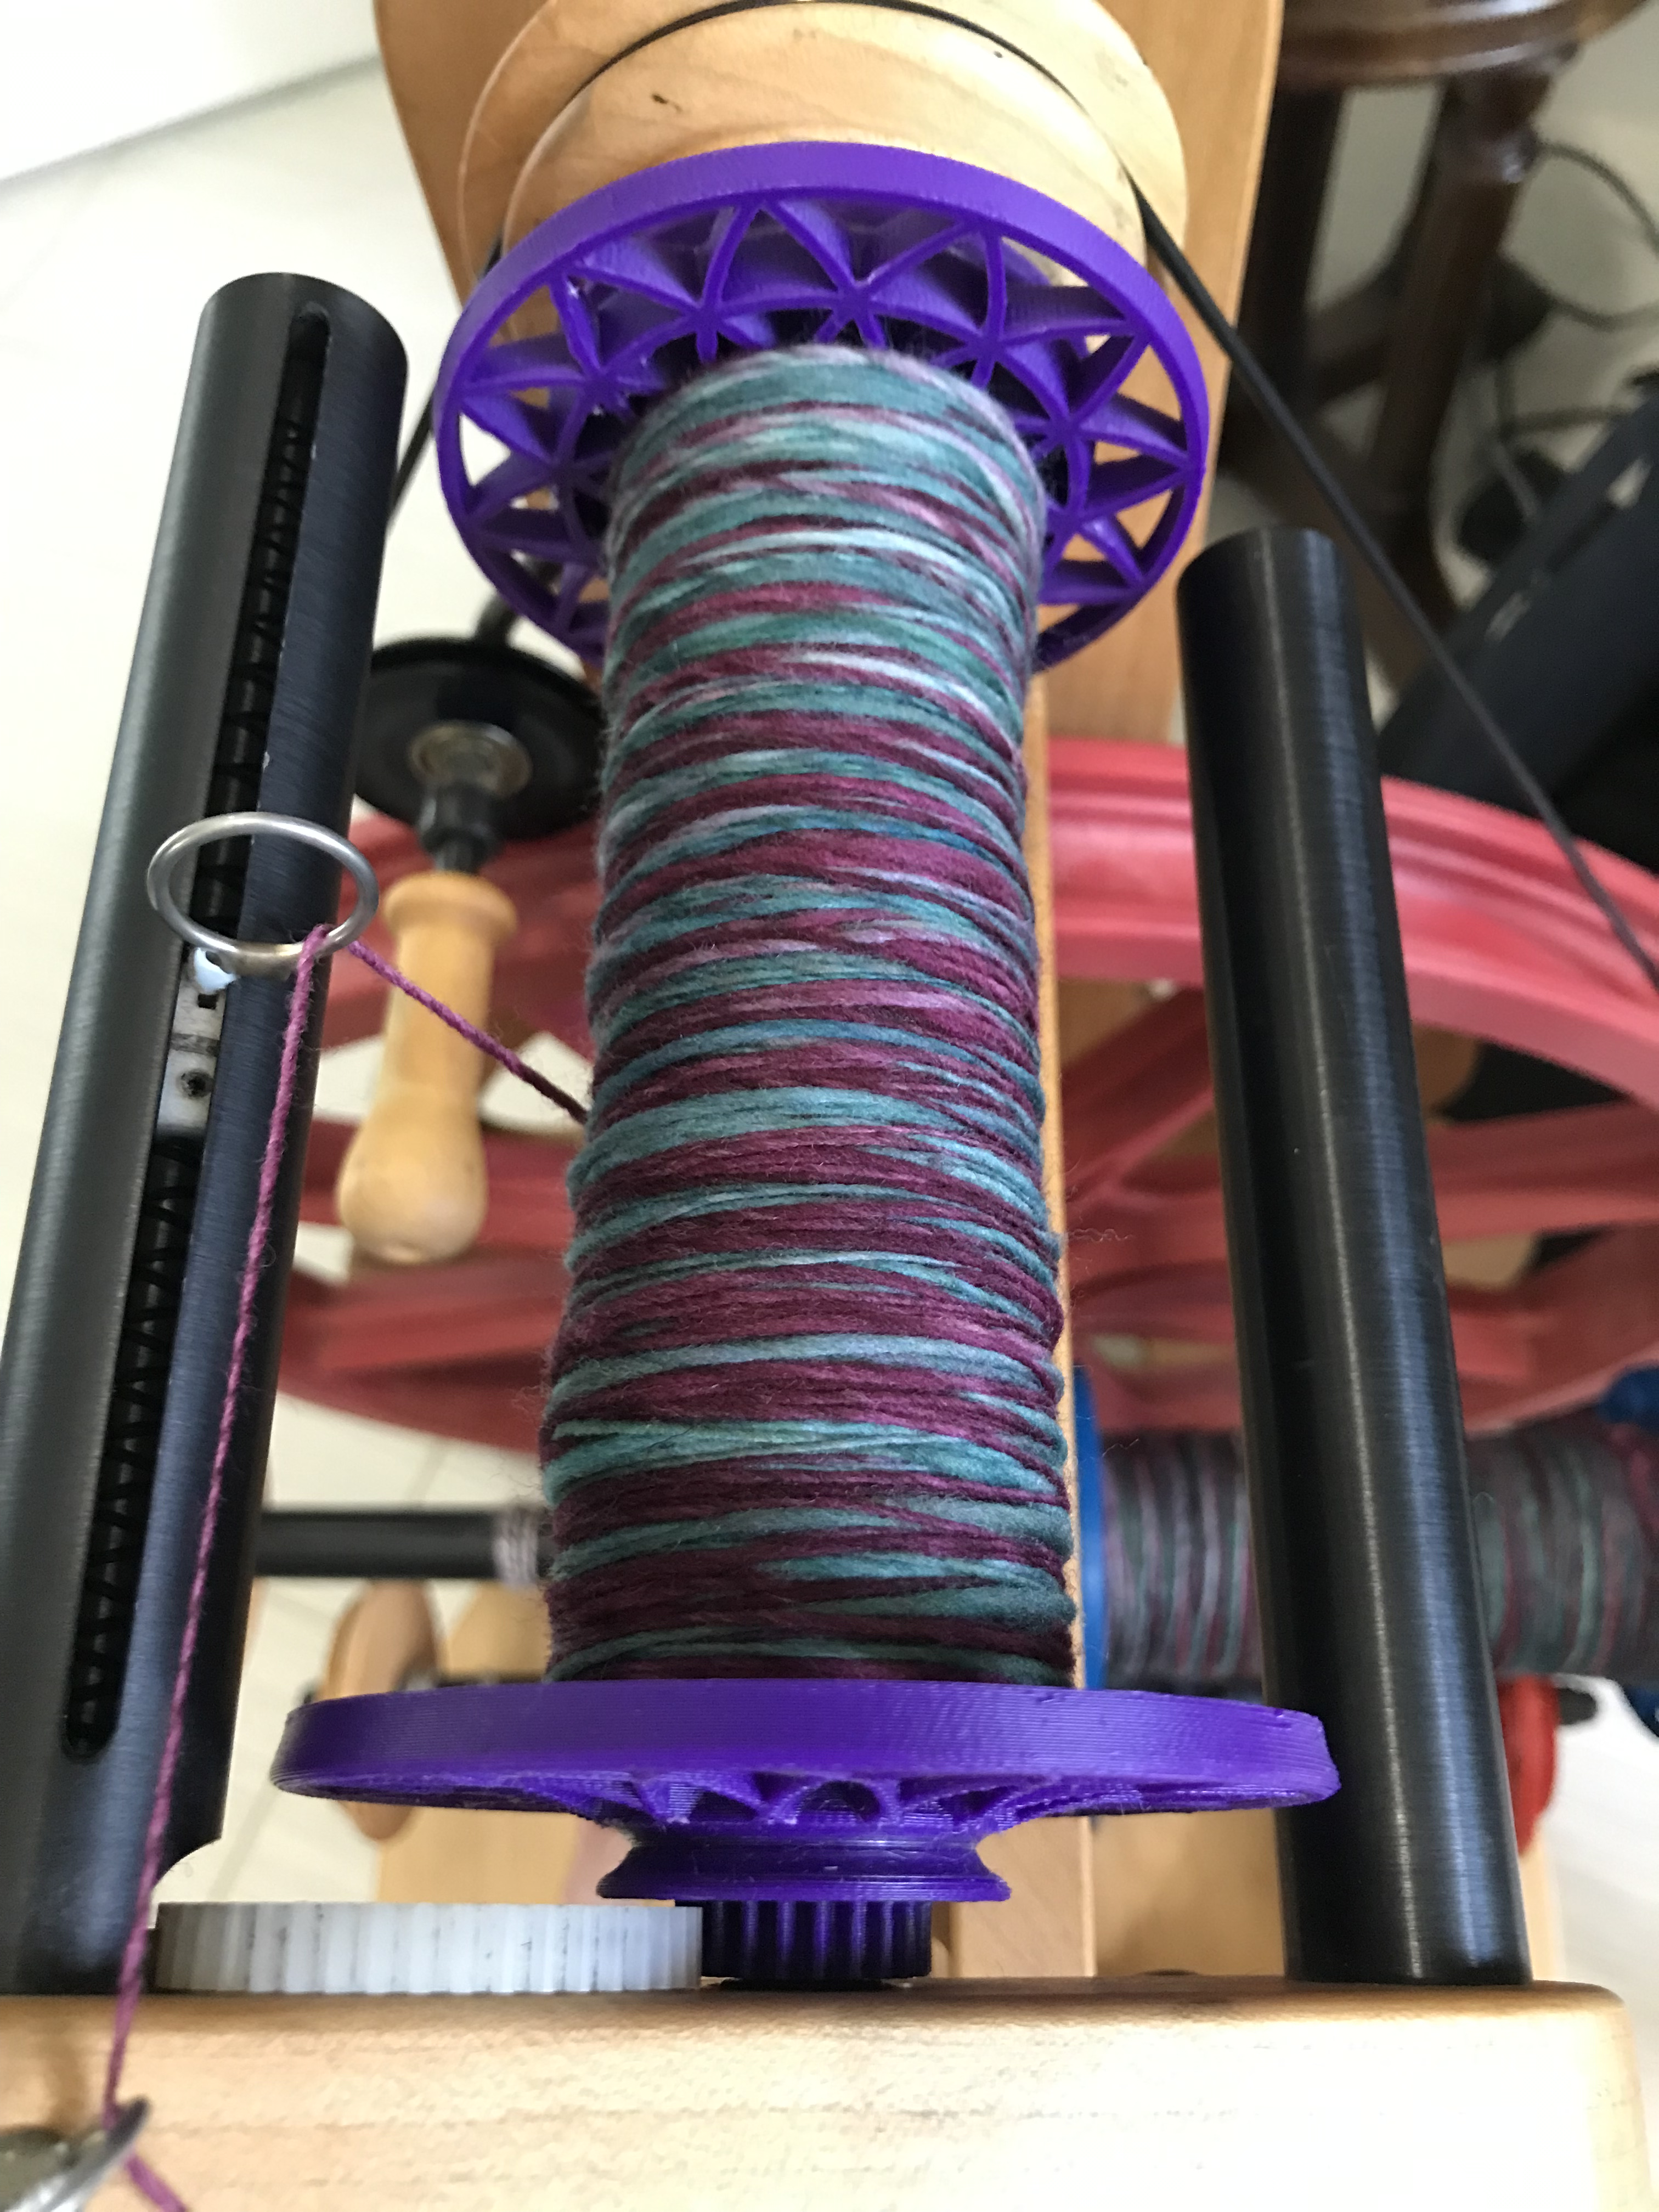
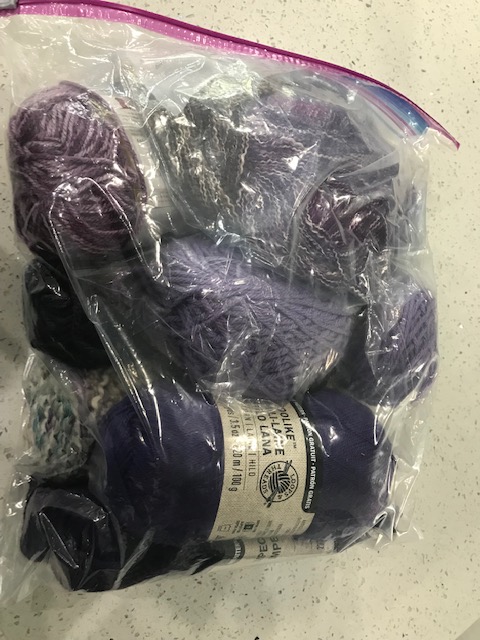
I have been collecting a bag of purplish yarns to make another wrap. Maybe this next one will be a shawl.
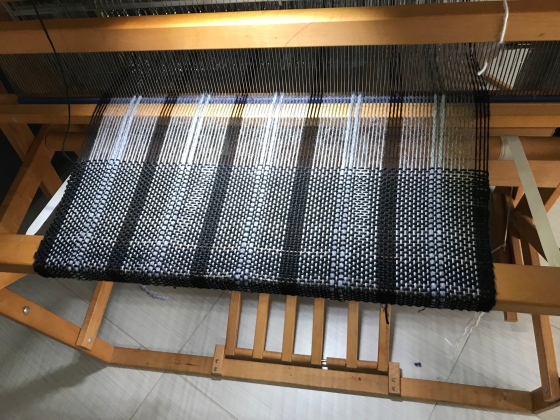
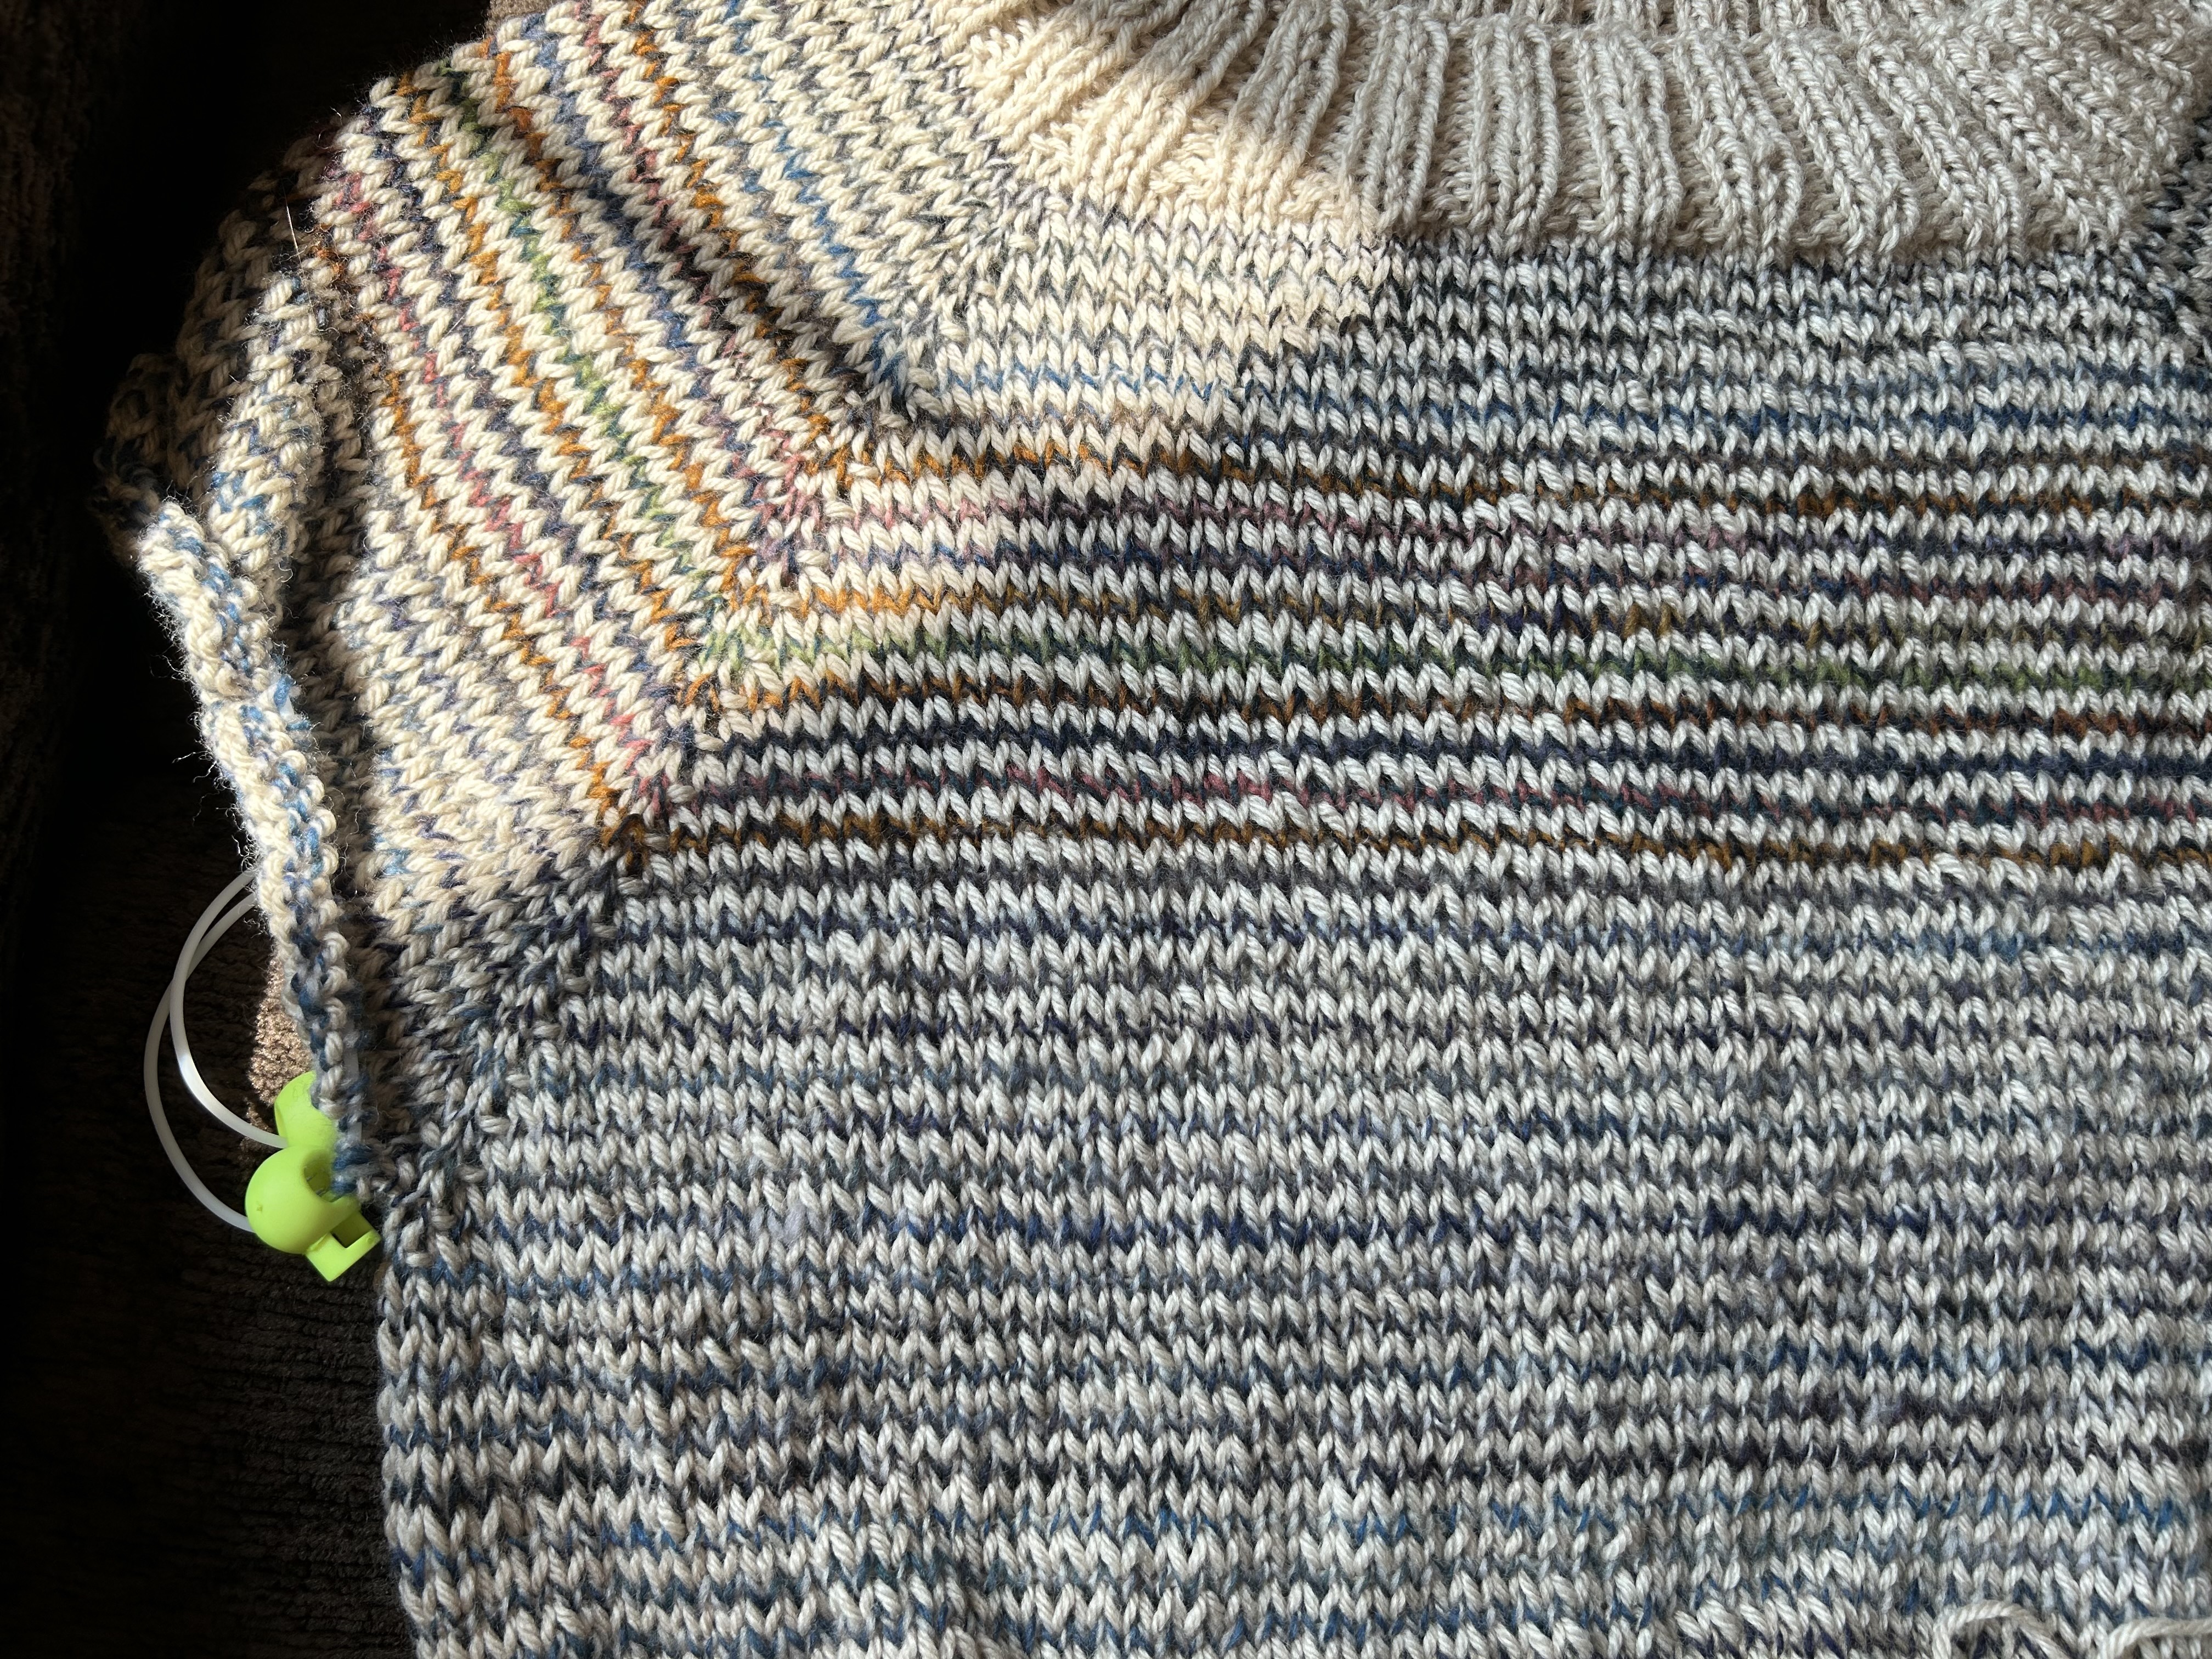
Anna’s Poncho
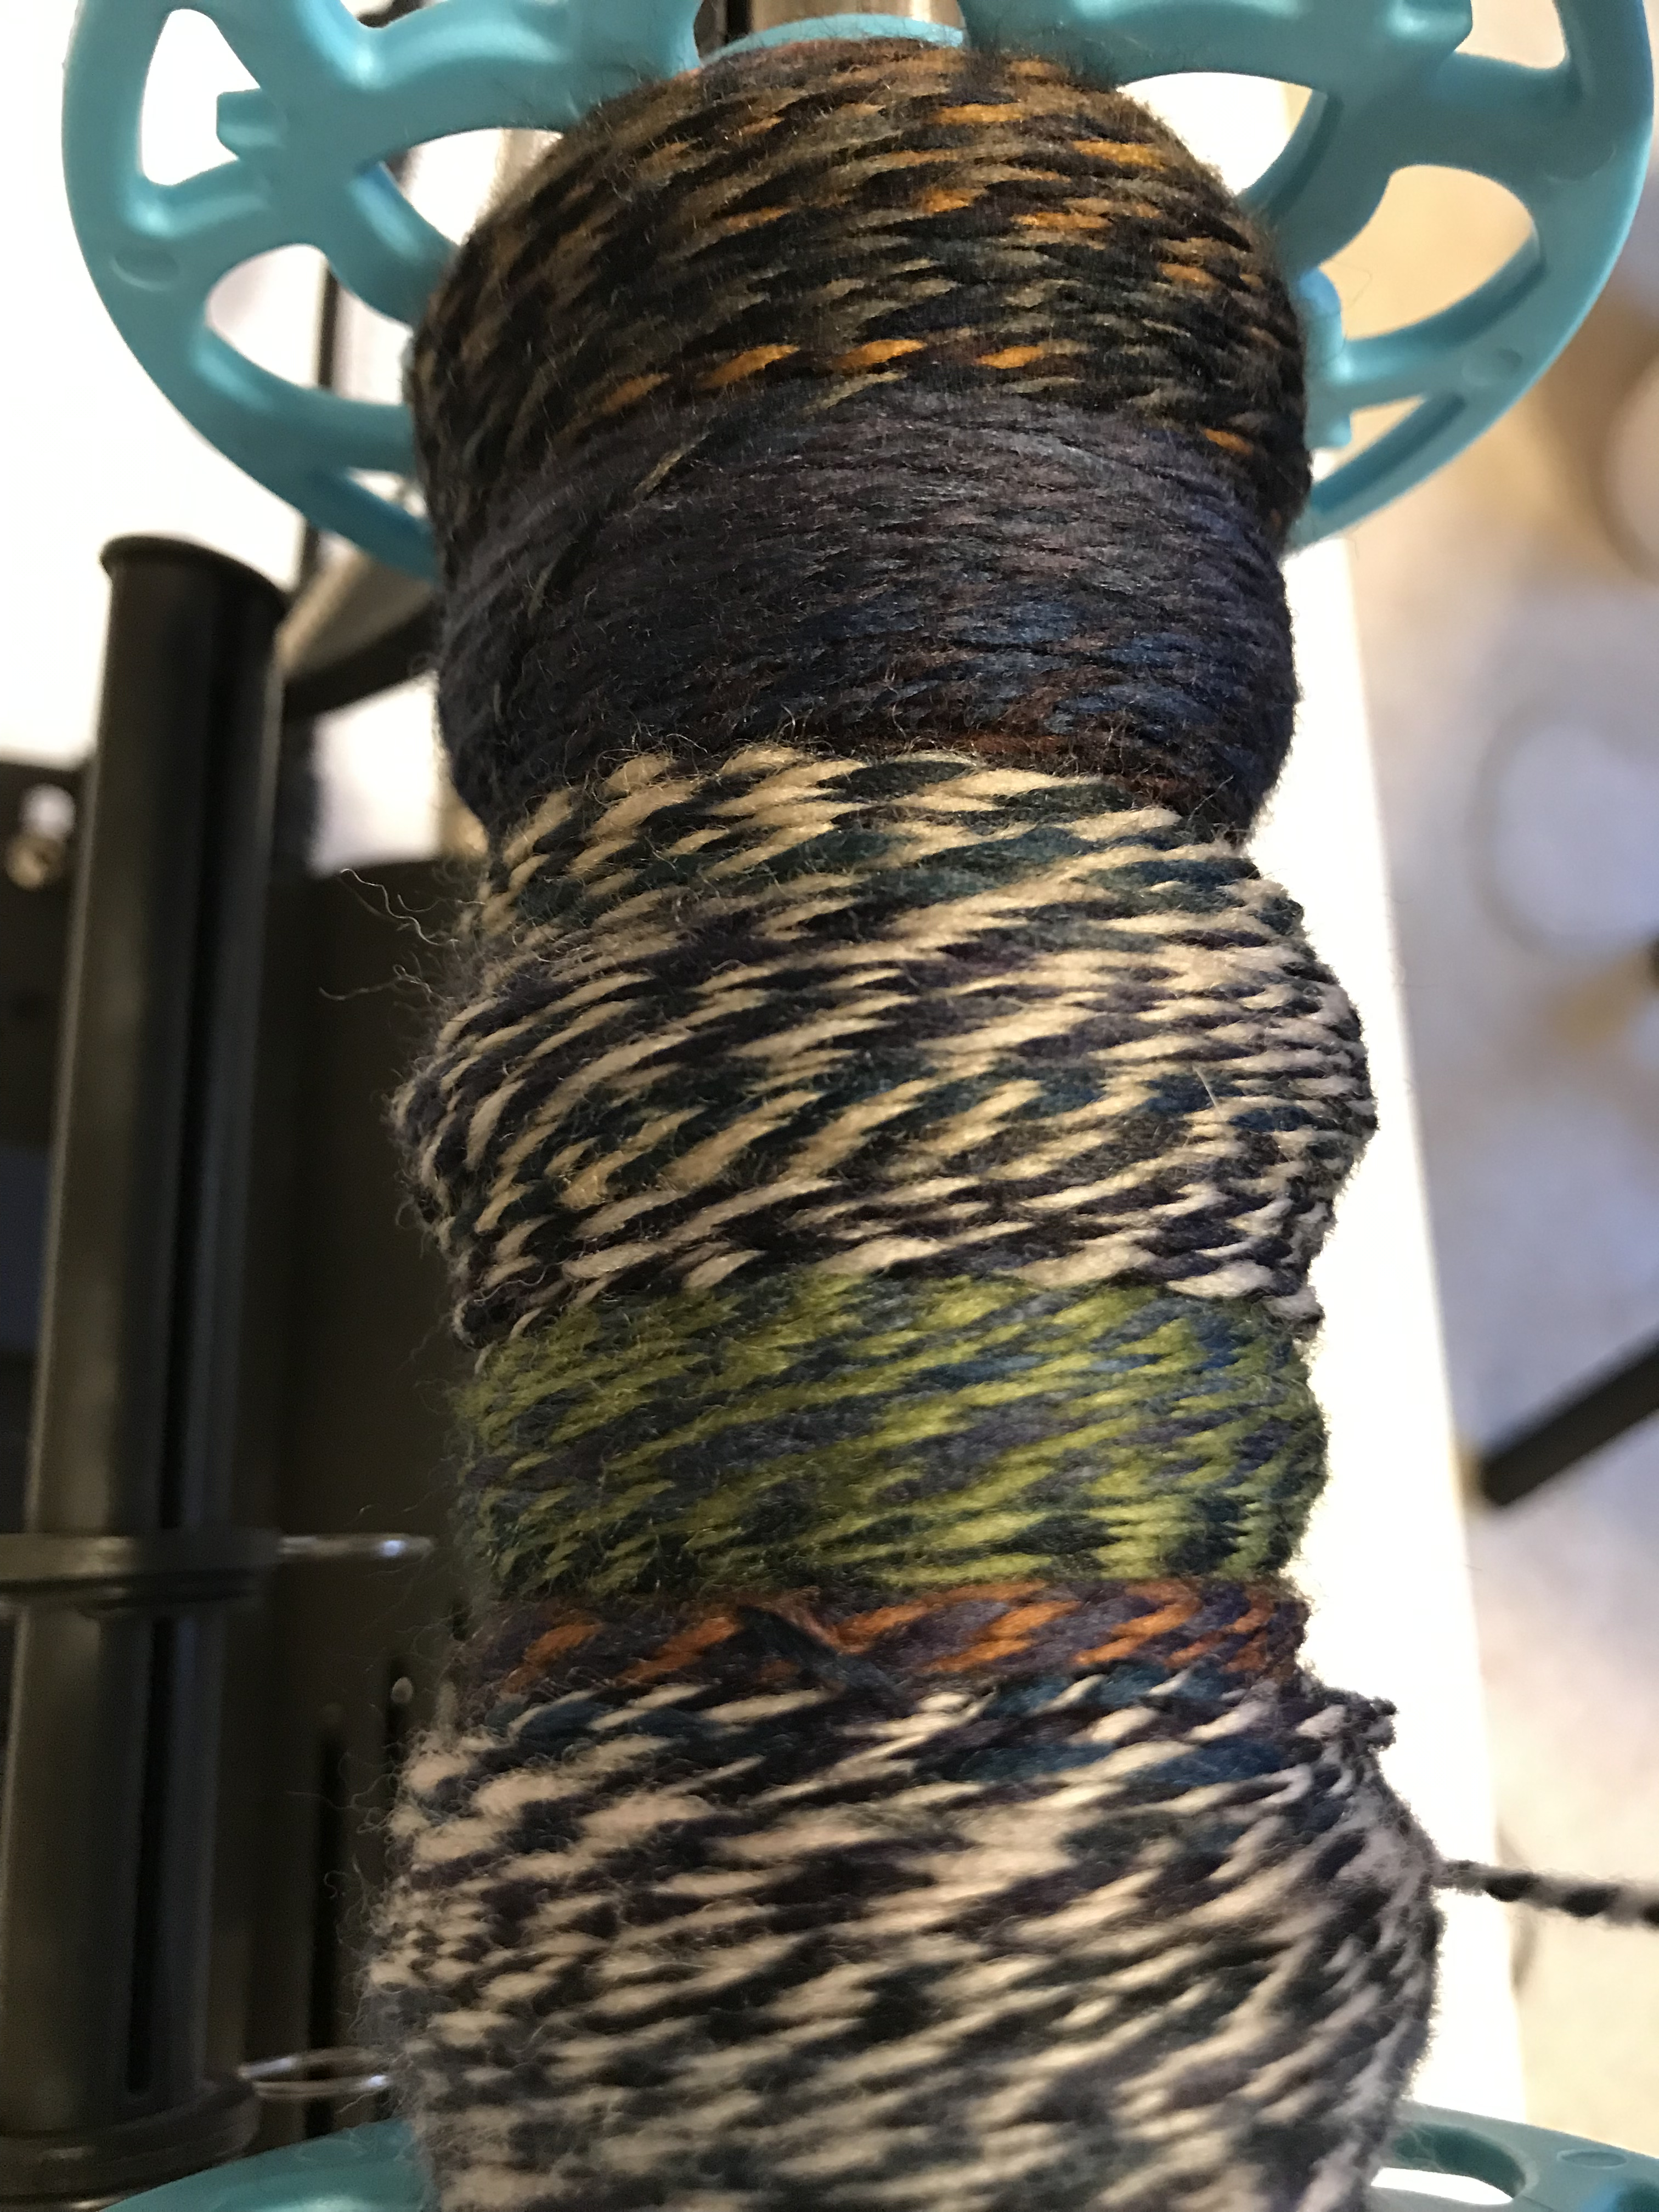
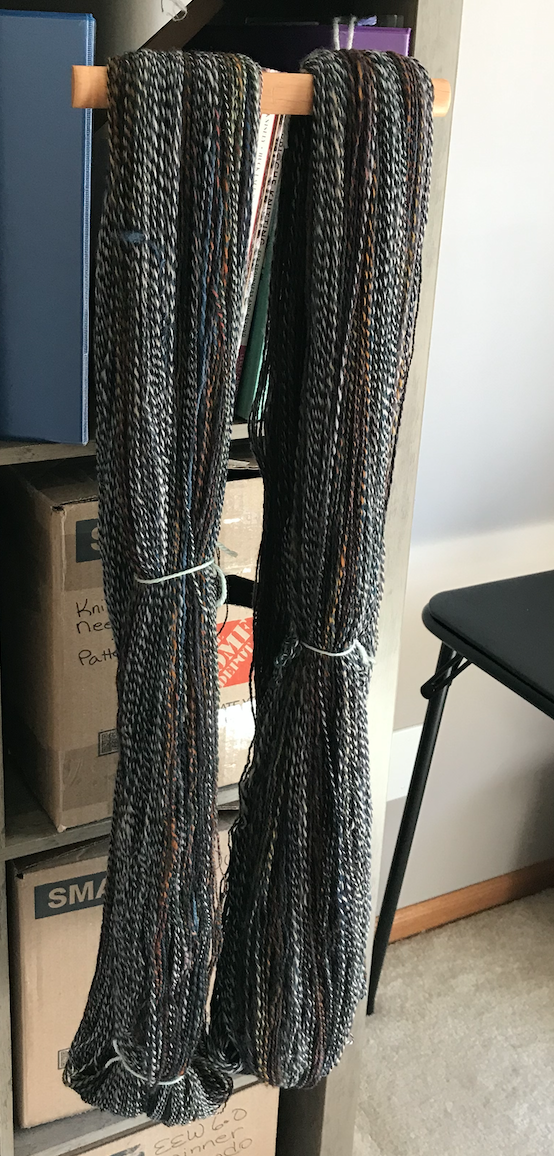
After seeing the first poncho with the sparkly brown threads, Anna decided she would like one with navy sparkly accents. The warp is Loops and Threads Barcelona in color Arctic and various blue yarns some of which sparkle. The weft is all Barcelona Arctic. You can see that it has some cream and gray variegations. One of the things that I learned was that yarns like this, with long variegations, are hard to match up between skeins. So now I always start a new skein for each half of the poncho and wind the bobbins in such as way as to keep the variegations in order (wind a bobbin from the skein then rewind it onto another bobbin).
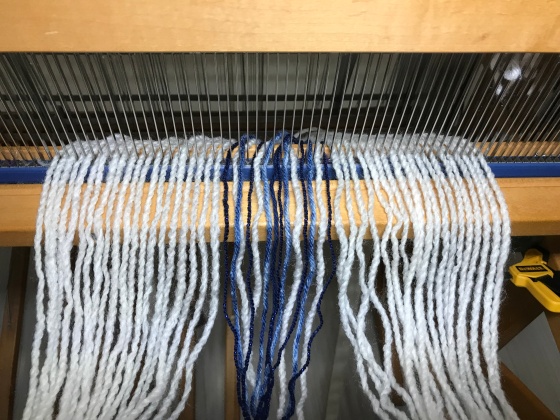
In this poncho the accent color represents 20% of the warp threads. The picture above shows details of the stripe pattern.


When I’m using a variegated yarn I often use this large stick shuttle so I can load lots of yarn and therefore connect pieces less often. When I am using a non-variegated yarn I like the boat shuttle much better. The light colored weft really tones down the navy stripe yarns. It’s pretty but I wish they stood out better. Hmmmm, considerations for future wraps.
I hope you like the ponchos. I am going to start the next post right away to show the ruanas.
As always, your polite and helpful comments are welcome.